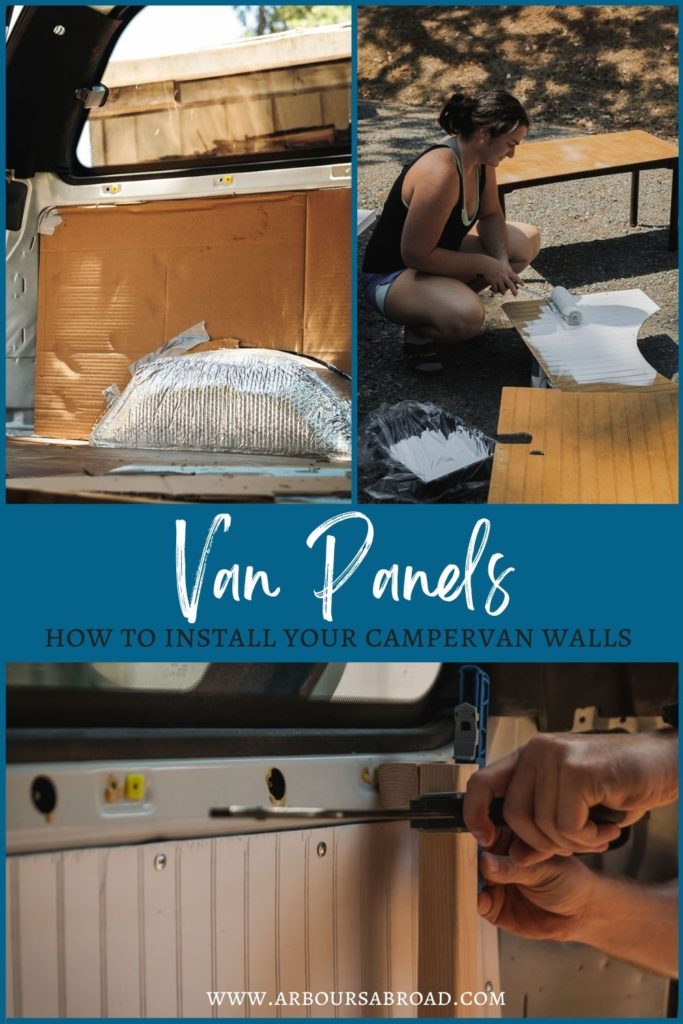

Deciding how you are going to install your camper van panels is a huge part of any van build. The van panels truly are where building out a van comes to life, as the walls quite literally transform from a metal shell to a home. While the feeling and look of turning a van into a home are different from person to person, the steps in the design and installation process are the same.
Our aim in this post is to share different options for covering up your metal van walls, and then give you a step-by-step guide to installing your van panels, no matter what material you decide to use.
This post contains affiliate links. As an Amazon Associate, we earn from qualifying purchases. If you buy through one of our links, we may earn a small commission at no extra cost to you. Read our full disclosure policy.
The Beginning of Transforming Your Camper Van Walls
Ok, Mr. Obvious here…but first things first…you need to have a van/buy a van.
When looking for a van, broaden your search.. choose a bigger radius, look for vans that you maybe don’t think would be the perfect van for you, and be flexible with your “musts”. When we bought the van we lived in for 2.5 years in Scotland, it wasn’t at all the type of van we were looking for. However, changing our “perfect idea” of a van, allowed the truly perfect van for us to pop up.
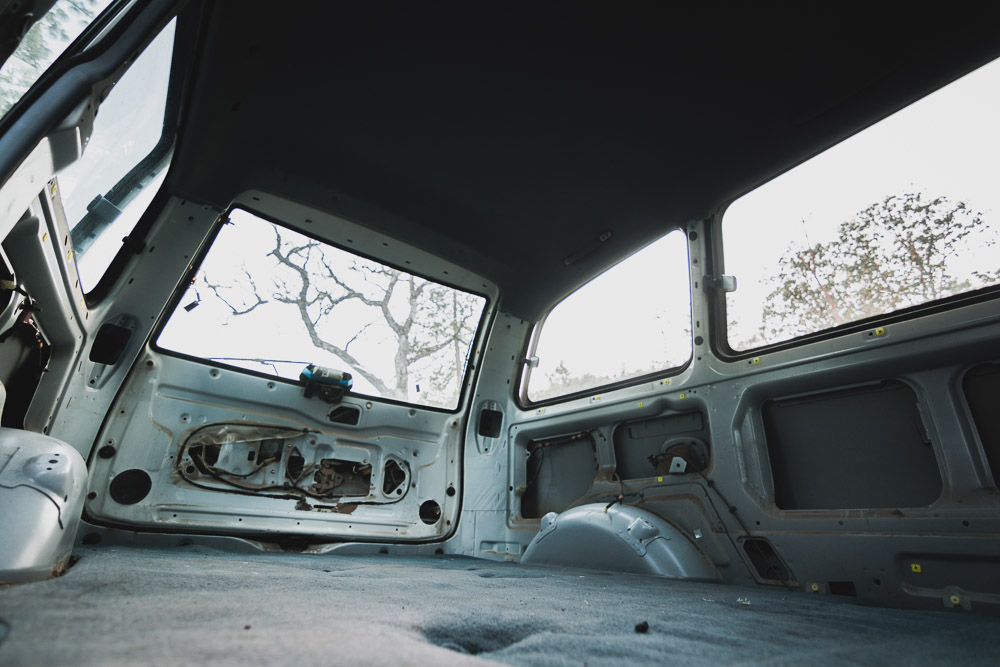
Tear out everything and bring it down to its bare metal.
Everything must go! Try not to break things as you tear them out, you never know what you will need for later., but bring the van down to its metal. This allows you to see any rust that needs to be treated and also sets you up perfectly for the next step…
Clean it.
We’re talking scrubbing clean. Get all the extra oil and grease off the walls. Wipe or vacuum out the dirt. And treat any rust you see with this rust-treating spray paint.
Different Options for Van Panels | Design + Plan
Do you want thin plywood, poly-vinyl material, or something else? Depending on what your end goal is, you may want to have thick plywood so you can screw things into it, have a vinyl material so that you don’t have to paint it, or carpeted walls for a more professional build look.
Vinyl/Plastic Material
We’ve seen quite a few van builds using vinyl tiles or plastic material for their van panels. The pros to this type of material are the ease of cleaning and the fact that it comes in the color you want, saving you time in priming and painting your panels.
However, this material also comes with a few cons. You have to consider the plastic/vinyl being cold and damp after sleeping, and maybe even hot to the touch when directly in the sun. This style of van paneling is also much more expensive than using thin plywood and heavier too.
Plywood
Easy to find. You can paint it any color to fit your design. It’s lightweight and relatively cheap. You can also find plywood that’s textured, like this plywood, to create an extra cozy feel. The thickness of plywood you choose will depend on what your plans are for that section of the van. We used 5mm textured plywood for areas that would show, and 5mm plain plywood for places like behind the cabinets and fridge.
The bonus side to using plywood is also the range of thickness. If you know you want to use the plywood as a base to secure shelves or hang stuff on the van walls, thicker plywood for your van panels would be a better bet. And, it can still have the same face/look as thinner plywood in areas you don’t need the thick stuff.
The con of using plywood is the amount of work it takes to prep the plywood for the final look. You’ll have to sand, prime, and paint the plywood.. all adding more time to your van build.
Carpet
Lots of custom professional van builds use a carpet-like material to cover the interior van panels. While this sounds like a good idea for sound and coziness, I can’t help but think of how disgusting the walls would get. Ew.. just thinking of all the smells after a week of cooking in the van being stuck in the walls, or dirt, hair, and grime from just life on the road — a big fat no thank you for me! But to each their own!
Pros of the carpet would be a clean, professional build look and a warmer interior feel. But shoot, the cons running through my head outweigh the positive side. If you choose to cover your van panels with carpet, you’ll still have to use plywood for the van panels, you’d just cover them with carpet instead of paint or stain.
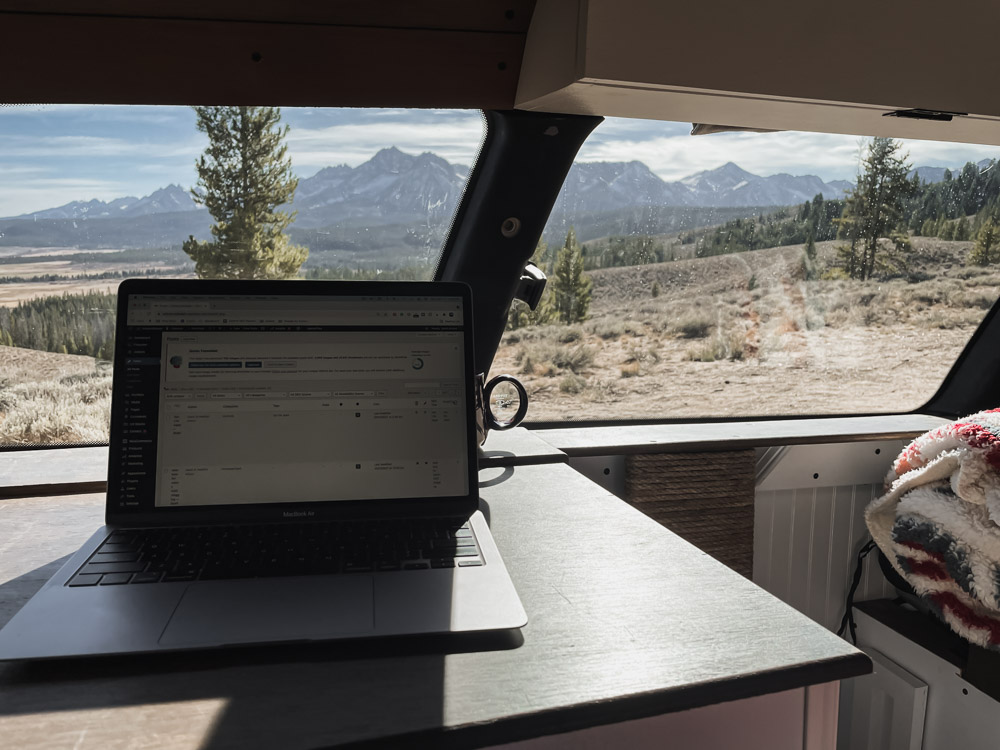
Insulating Your Van Walls | The Goods Behind the Van Panels
Next, you will want to insulate your van walls. We explained how we insulated our van walls in the video below, however, there are multiple ways to achieve this step.
Depending on your budget, time, and skill level–there are a few different options you can take for insulating your camper van walls.
Havelock Sheep Wool
This may be the easiest way to insulate van walls, as you literally stuff the wool into the van walls. Havelock Sheep Wool is an environmentally friendly way to insulate your campervan, it’s naturally wicking, so you don’t have to worry about water damage, and it has a great R-value per inch. However, it’s a bit more expensive than other options. With that said, for our next build, we think the slightly higher price point is worth the time that would be saved in using Havelock Sheep Wool.
Polyiso Foam Board Insulation
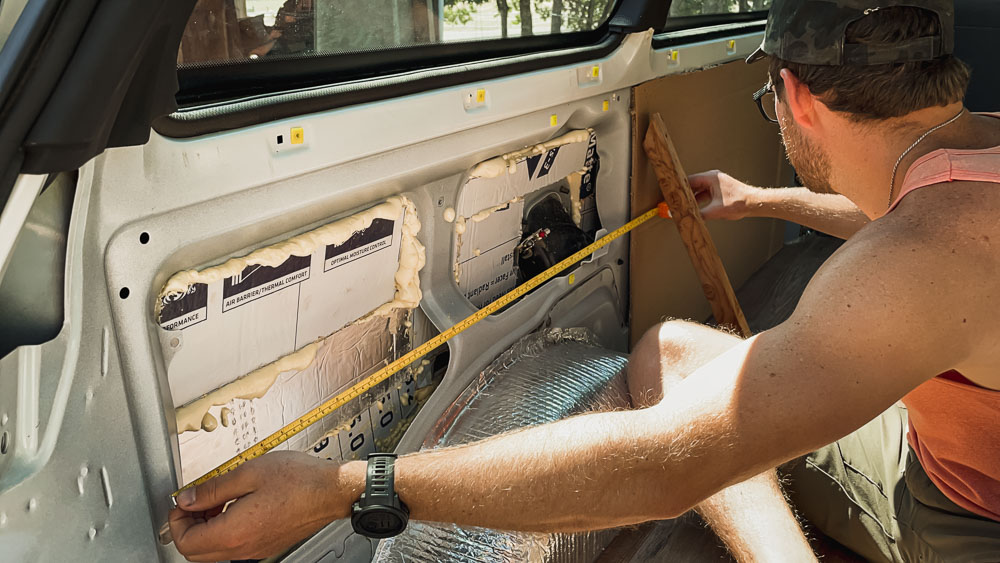
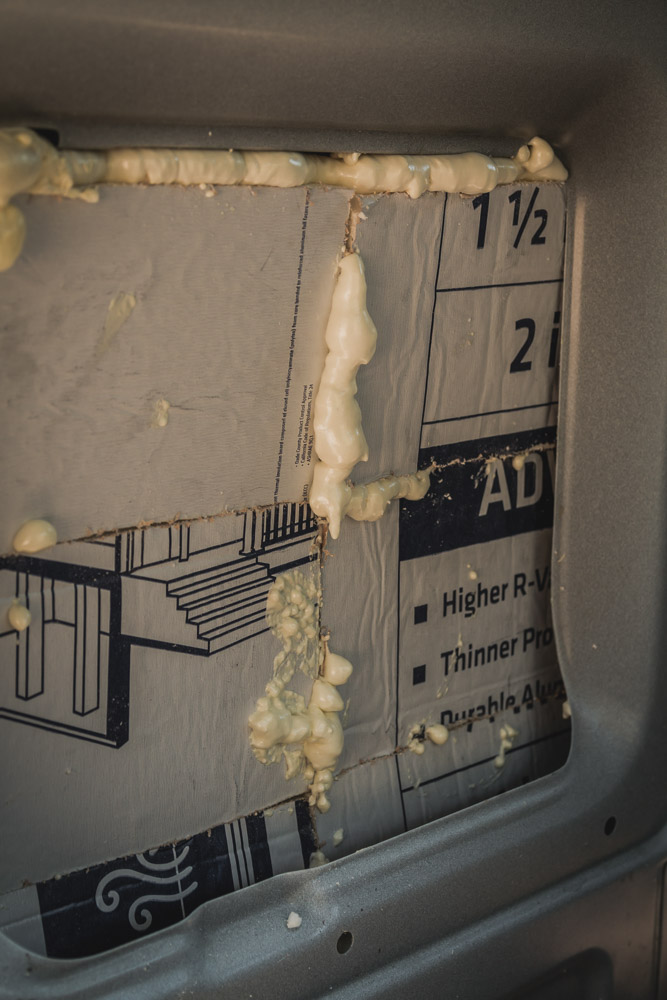
This is what we used and it’s fantastic! While it took longer than just stuffing sheep wool into each crevis, the insulation really wasn’t too bad. Check out this video to see! Polyiso comes in many different thicknesses, all changing the R-value (how good the insulation works), but we found that the 1 inch Polyiso was perfect for keeping us warm — even in below freezing temps.
If you choose to insulate your van walls with Polyiso Foam Board insulation, you’ll also have to grab some Great Stuff Expanding Foam. This works as glue to stick the foam board to your van walls, and also is perfect for filling any gaps around and between the foam boards.
Thinsulate
Why on earth people use Thinsulate to insulate the camper van walls is beyond me. The R-value for the price point sucks. And the “noise reduction” in our opinion is a hoax and selling point that’s probably not really necessary. Save yourself the money, and don’t use Thinsulate, no matter how trendy it may be for van builds.
Reflectix
Do not use Reflectix to insulate your camper van walls. I’m literally only including Reflectix here to tell you not to use it! haha.. Reflectix works as a radiant heat barrier, meaning it needs space to actually do its job.. and when you stick it to a van wall, then stick a van panel right on top of it, you take away the space.. making its R-value drop to basically nothing.
The only way that Reflectix is a good insulation for your van panels, is in the open areas. AKA, the windows. Use Relectix as you’re window coverings and it will double as a space for privacy as well as a way to insulate your van!
Creating Stencils | Designing the Perfect Fit
Deciding What Exactly Your Van Panels Will Cover
Take a look at your van, think of what material you’re using to cover the van walls, and then decide the best places in your van frame to screw into the van walls. This post will help you understand what things to consider and teach you how to screw into your van walls.
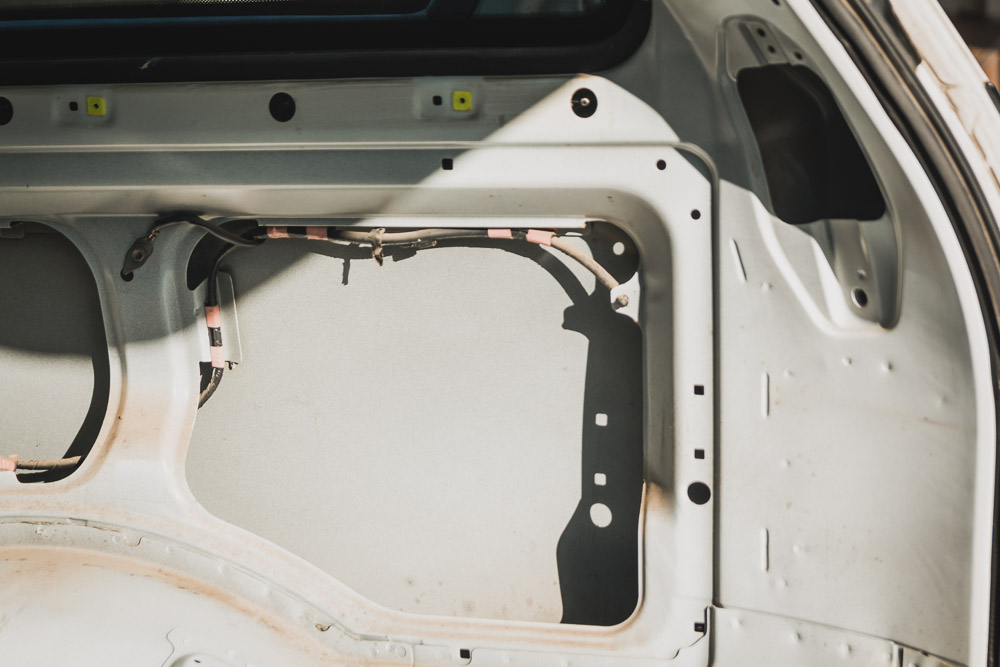
In our van conversion, we really didn’t have much space to give. So we went with super-thin 5mm plywood for our van panels and screwed it into the indented bit of the metal frame. The picture below will help understand where that spot is.
This was the perfect place to screw into when using thin plywood, as it then created a flat surface with the rest of the van walls.
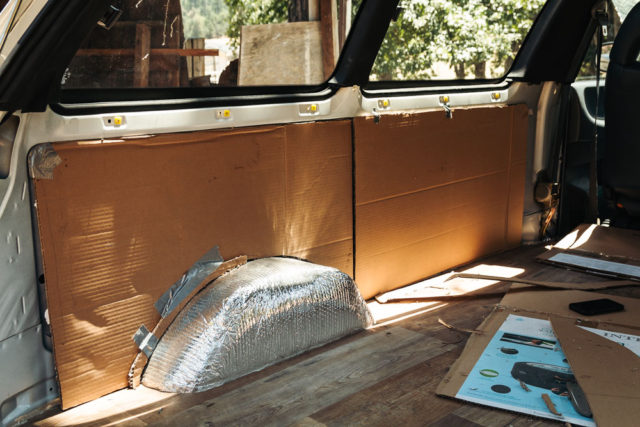
After deciding where exactly you’ll be attaching your van panels, you can then begin making cardboard stencils.
Cardboard Stencils
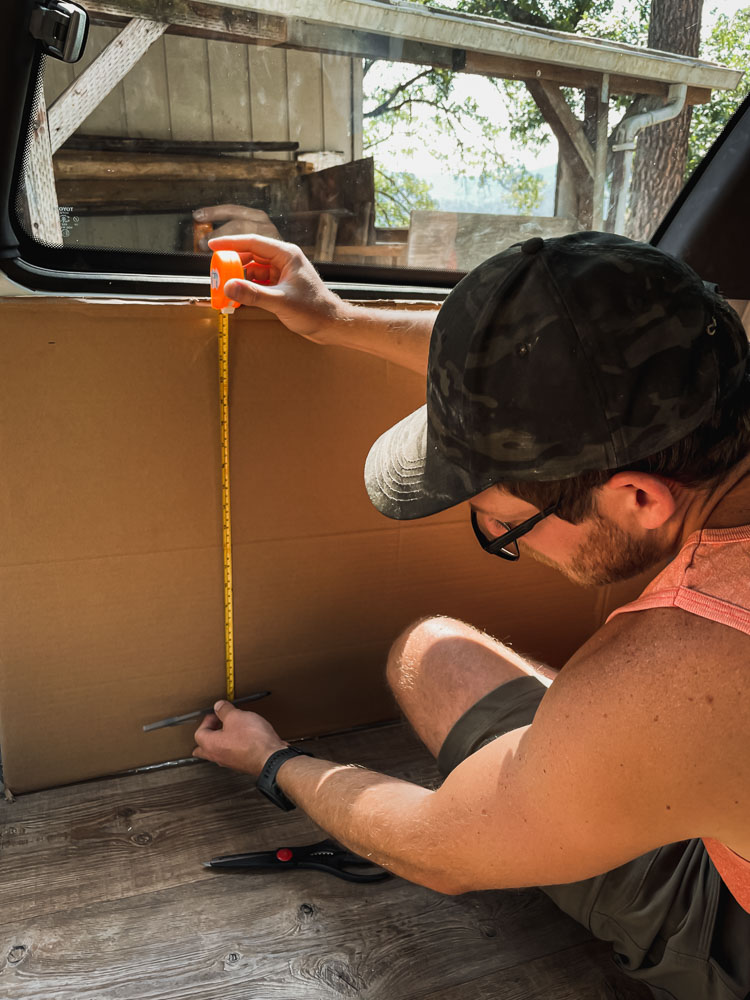
Find yourself some large bits of cardboard. Cardboard is super flexible, easy to cut, and if you mess up and trim off too much, it’s free to replace!
If you keep the cardboard from things like solar panel boxes or your van fridge purchase, those are great to use here. Otherwise, head to a big store near you, and just grab some cardboard out of their recycle bin.. maybe just ask first! haha
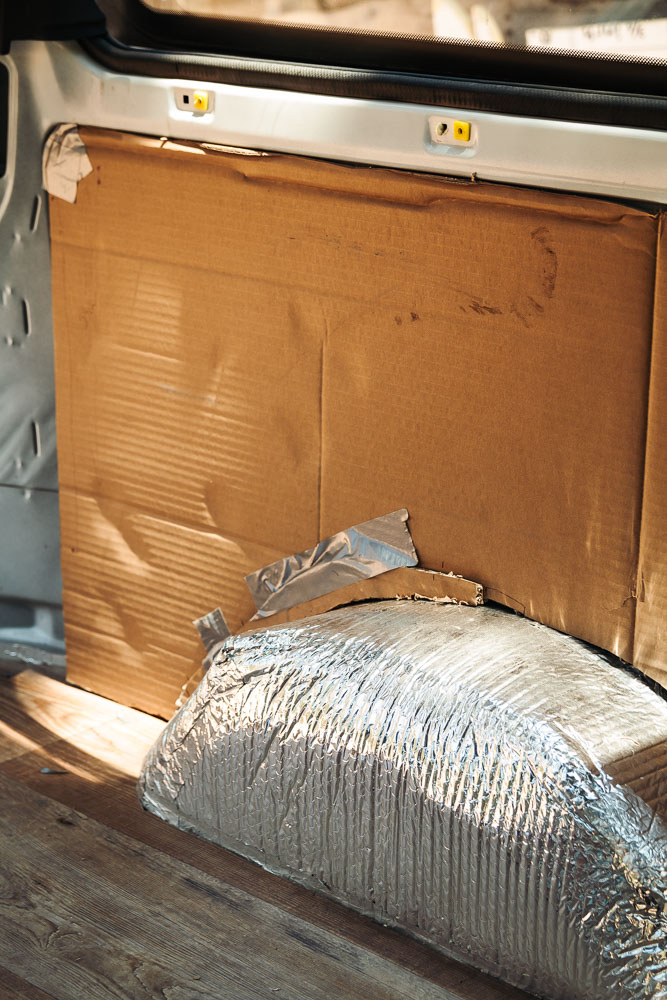
- Begin by measuring the space your panels will be installed and make sure your cardboard piece is slightly larger than what you will need. This ensures you will have enough wiggle room for a guaranteed fit.
- Trace the cardboard and cut it a little bigger than you think you will need for your van panels.
- we found that by running your finger along the cardboard, pressing hard where you think the seam or cut would be, you’ll find where it truly is.
- from there, grab a pen or sharpie and draw a line tracing the shape and curves you’ll need for your van panel cardboard stencil.
- always cut a bit bigger than you need, like along the outside of your pen mark. That way, you can trim as you go instead of having to start from the beginning again.
- Test fit and shave the cardboard as needed. Repeat this process until all cardboard panels are done to your liking.
Cutting Your Van Panels
From Cardboard to Van Panels
- Place your newly shaped cardboard stencils onto your desired van paneling. Remember, you don’t have to have fancy or even nice looking van paneling in the areas that aren’t going to show. Keep this in mind as you decide what cardboard stencil is for what panel covering.
- Trace the stencil onto the van panel materials and then cut with a jigsaw. We suggest starting with a piece that isn’t likely going to be showing, so you can learn how the wood actually cuts.
Do note, if you are using thin plywood, trace the stencils on the backside and cut with the front side facing down to prevent any unwanted splintering on the front side of your van panels. Or, another trick is to use masking tape over your traced-out lines to prevent splintering altogether if you want to cut with the front side facing up.
Test Fitting and Trimming
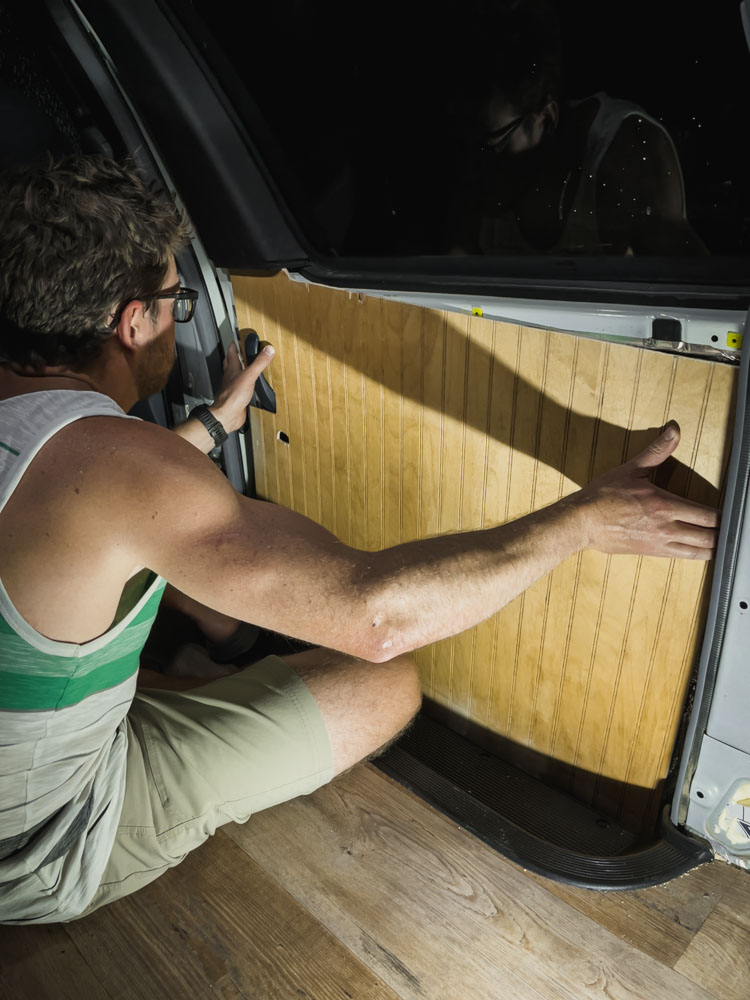
Once your panels are cut, test fit them in the van. Your cardboard stencils don’t always guarantee a perfect cut and fit every time, as the thickness of your actual panel material can change the fit.
Most likely, you will need to shave off bits here and there to ensure an absolutely perfect fit. If it’s a super small part you need to take off, try just sanding the wood. It is time-consuming. But it is worth it for sure, as this helps you not to cut off too much!
Installing Your Van Panels
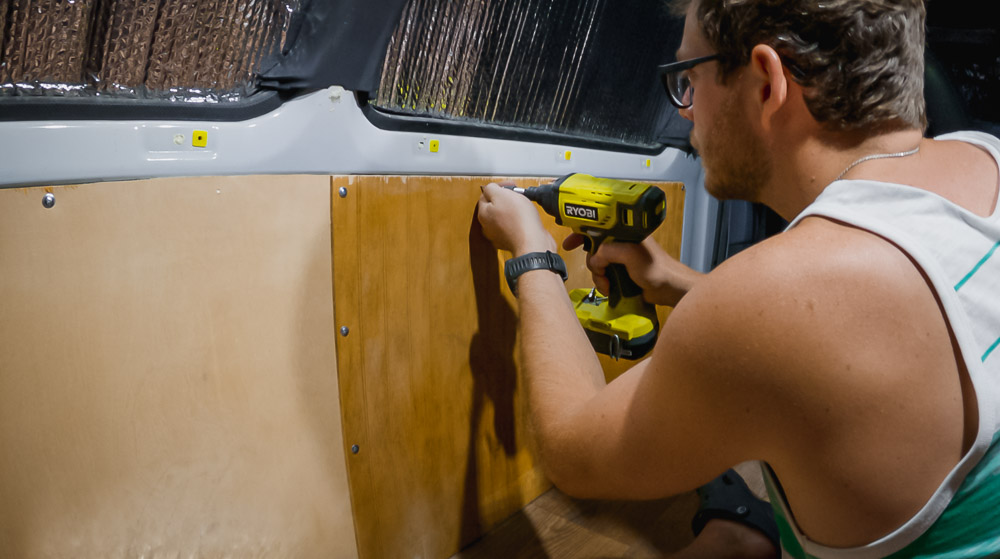
Happy with the fit?! Just screw them right on in!

If you have any hesitation with screwing screws into your van walls. We understand. We did too. And because we did, we also did a video on this exact topic to help you out!
You can watch the video below, or check out this blog post on screwing into van walls, where we talk about what screws to use, what to watch out for, and treating the metal.
Prime and Paint or Stain
Now that everything is in and test fitted and you’re happy with the way it fits, un-install all the van panels to give it a final touch-up of sanding, then prime and paint, or simply stain the wood.
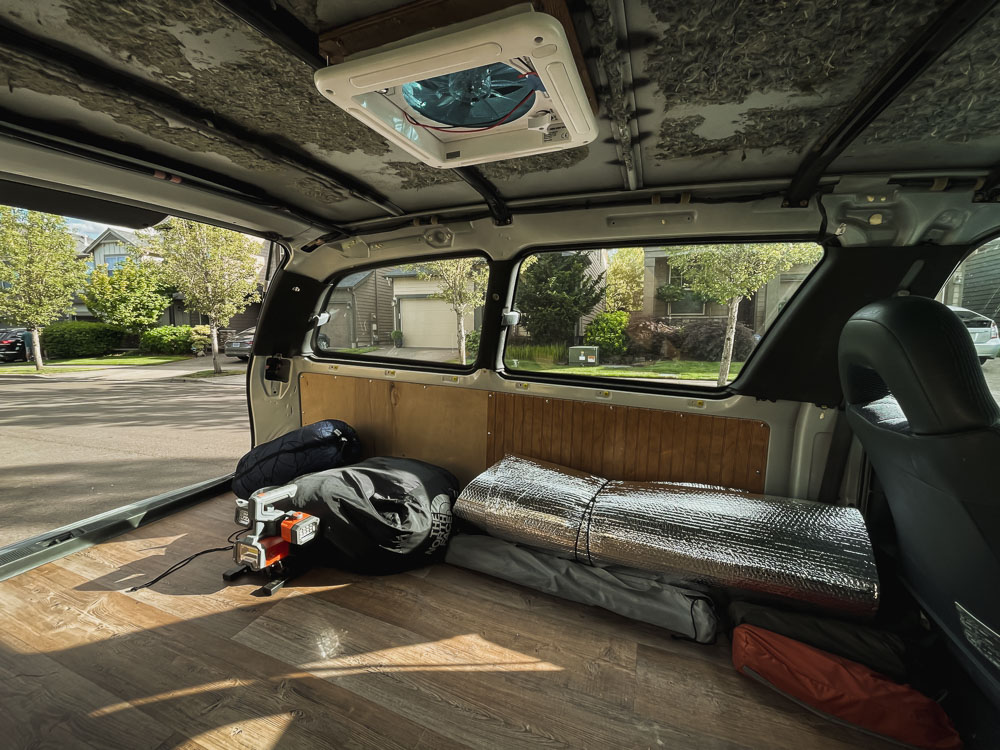
Just as before, if it’s a panel that’s going to be covered with anything, like cabinets or the bed, don’t go through the extra time of priming and painting. That’s just added weight to your overall build. Added time. And honestly, added chances of messing up! Instead, just leave it be, or stain it with a waterproof stain to prevent mold.
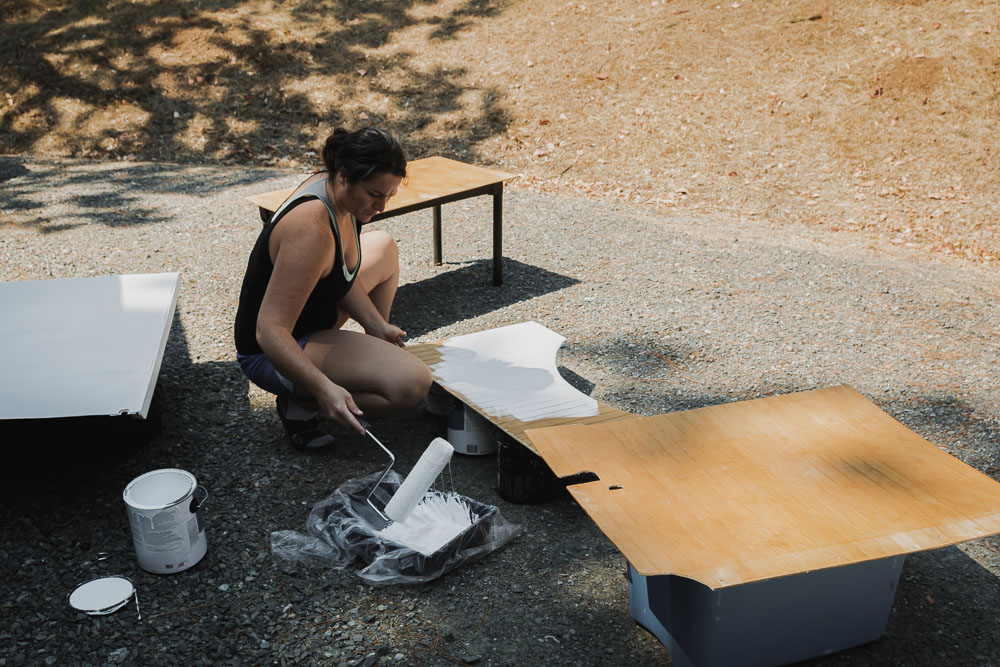
Something worth noting here. We didn’t paint our van panels until the very last chance we had. That way, when we took the van out before it was totally complete and when we were moving things in and out of the van designing the final layout, we didn’t have to worry about nicking the newly painted panels.
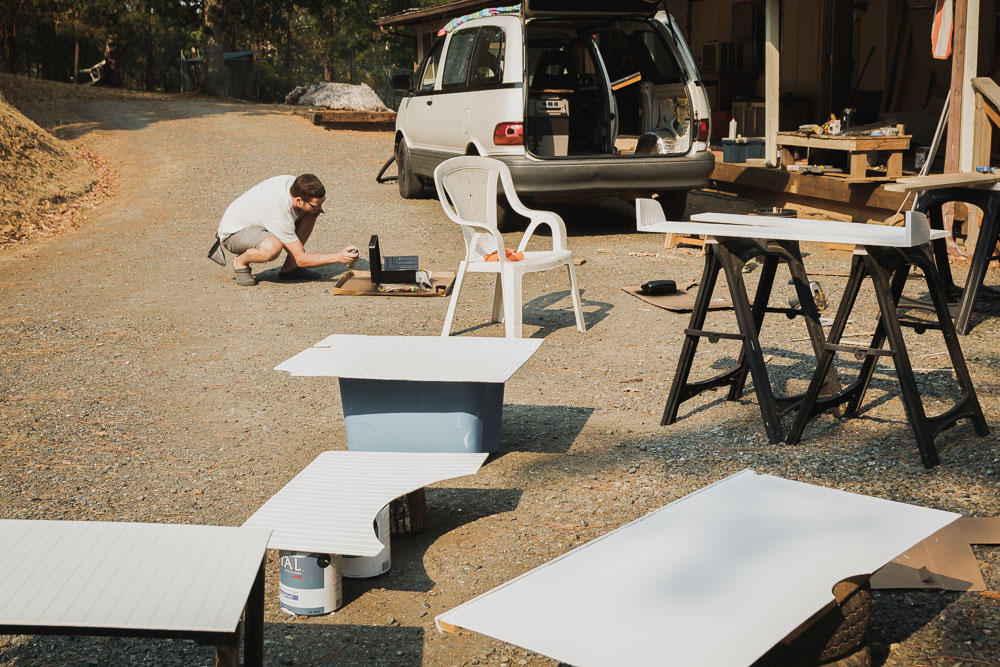
Continue with the Rest of the Van Build
Before adding trim and perfecting the final look of your van panels. Continue with the rest of your build. That way, you don’t do double the work that you need to. You’ll find you don’t necessarily need to trim out all your van panels, as some of the seams will be covered. And you may be surprised how many times your final layout changes between installing your van panels and being completely done with your camper van build!
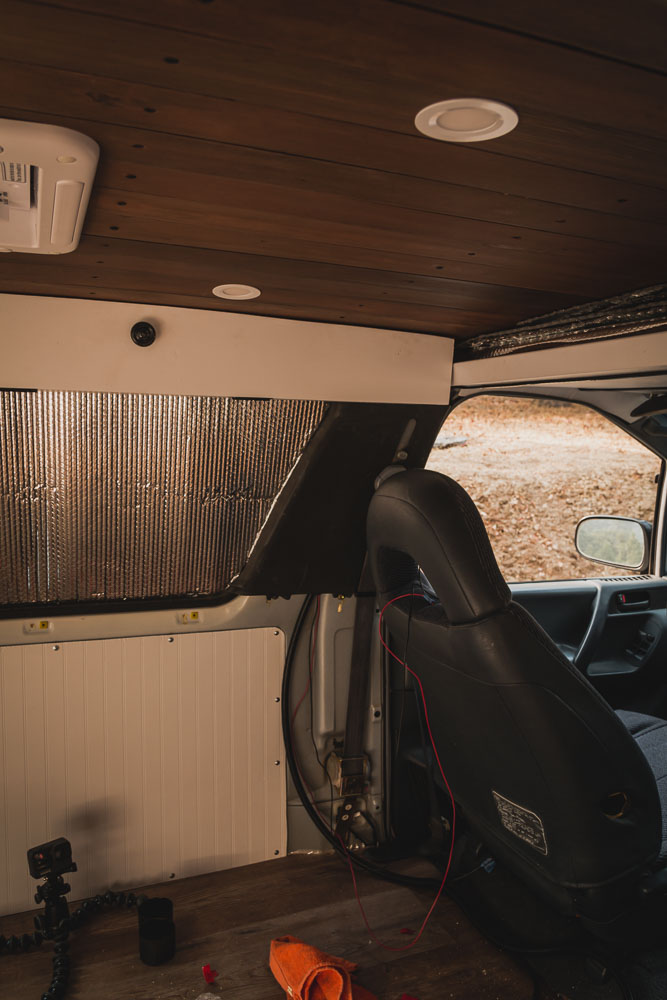
Back to the Wall Panels | Trimming out the Van Panels
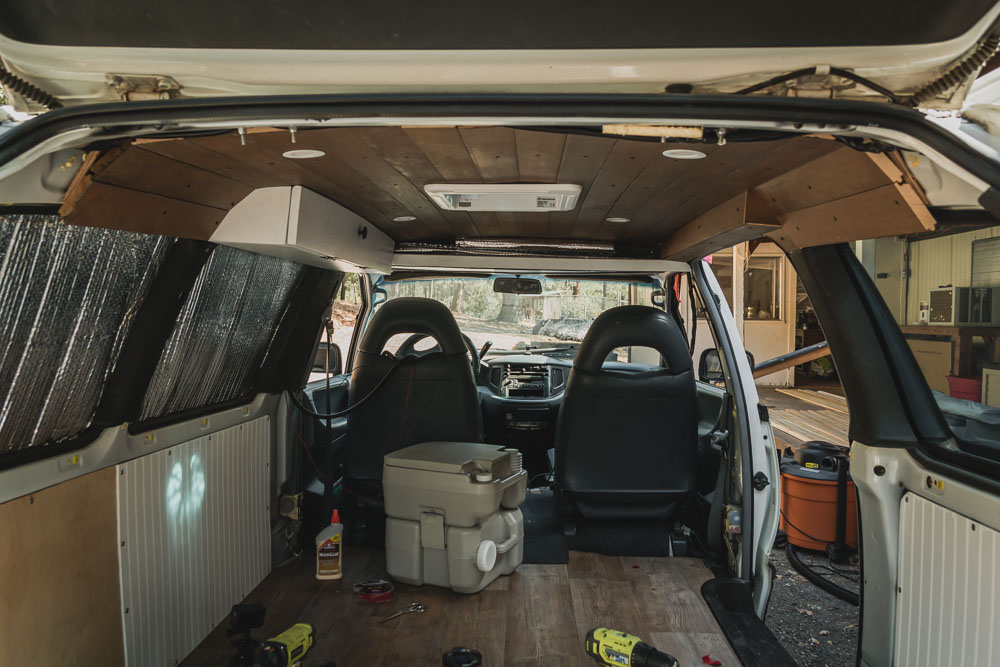
After installing the panels, we jumped to the build-out of the bed and cabinets, then finished everything with our window shelves and trim. Honestly, we had a bit of a different take on following what you’re supposed to do at this point vs. what made sense to us in the van build process.
We chose the trim for the wall panels solely based on how much metal we needed to cover up. This was a huge help in the van build at this time. As there will undoubtedly be gaps in where wood should align and exposed metal in areas like the door and window frames.
Trimming out the van panels as the last thing in your van build is in our opinion the best approach because then you can cover up any imperfections with the same wood.. creating a cohesive design that looks like it was meant to be from the beginning!

Final Step | Matching the Hardware
After sorting out the trim and making sure all the metal and gaps in the wood are properly covered, add the finishing touch of making all the screws and hardware match.
We decided to accent everything with black, and simply spray-painted all the screws and hardware to match. You don’t have to spray paint every screw you used. The perk of doing this at the final stage is only spray painting what shows! Check out the picture below to see an easy way to spray paint screws!

More on Van Builds
9 Mistakes to Avoid with Your Campervan Floors
How to Install Your Campervan Floors
5 Ceiling Ideas for Your Van Build
Campervan Gadgets | the fun bits
Van Life Essentials | the 11 things you really need in van life
Our Complete Campervan Conversion
Sharing Truly Helps Us A Lot