

Olympic National Park hikes offer astounding views, hikes from easy to extreme, and can turn anyone into an avid hiker!
If you haven’t been to Olympic National Park, or seen a map of the area, we’ll let you in a secret. Olympic National Park is a big circle around the Olympic Peninsula with a bunch of fingers leading into the edge of the national park. When in fact, the majority of the national park is not accessible by roads.
This means that hiking is the best way to see what Olympic National Park has to offer.
We’re breaking up this post into the different regions of Olympic National Park. From there, we’ll rank each hike, simply based on our own experience. When we have separate posts for the region or hike below, we’ll link to them, so you can read about the trail in more detail.
This post contains affiliate links. As an Amazon Associate, we earn from qualifying purchases. If you buy through one of our links, we may earn a small commission at no extra cost to you. Read our full disclosure policy.
Olympic National Park Hikes Via Map
Hikes In Olympic National Park At A Glance
- Hurricane Hill
- Sunrise Point Trail
- Madison Falls
- Olympic Hot Springs
- Mount Storm King
- Marymere Falls
- Salmon Cascades
- Sol Duc Falls
- Rialto Beach Hole in the Wall
- Tree of Life
- Hall of Mosses Trail in Hoh Rainforest
- Quinault Rainforest Nature Trail
- World’s Largest Sitka Spruce

Olympic National Park Hikes in Hurricane Ridge Region
Hurricane Ridge is the most famous area of the national park due to its proximity to Port Angeles. It has the largest visitor center and famous views of Mount Olympus. Hurricane Ridge Road can be closed for both construction and weather. Be sure to check the national park website (here) for up-to-date road closures.
Hurricane Hill | not really worth it
- Difficulty: moderate
- Elevation Gain: 800 feet
- Terrain: paved and steep
- Length: 3.75 miles round trip
- Location: 47.97648, -123.51752
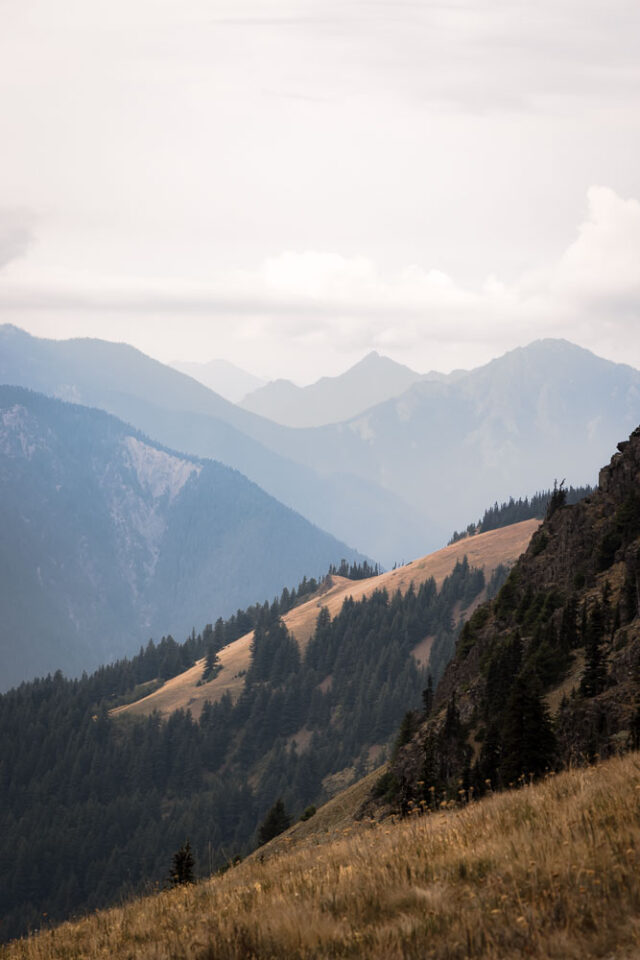
Hiking Hurricane Hill, in our opinion, is not as great as it seems. Maybe if there wasn’t as much cloud coverage it would have been a better hike? But to us, the elevation gain for the minimal difference in views was not really worth it with the limited time we had.
This hike is fully paved, making it accessible to all terrain-wise. However, it’s steep, so that limits the accessibility in that aspect. There is a viewpoint about .25 miles into the hike with limited elevation gain to get to, which may be worth it for those not wanting too much of a climb.
This was by far our least favorite hike in all of Olympic National Park, as we felt it was really just a climb up a hill on a paved path with no drastic changes in the view.
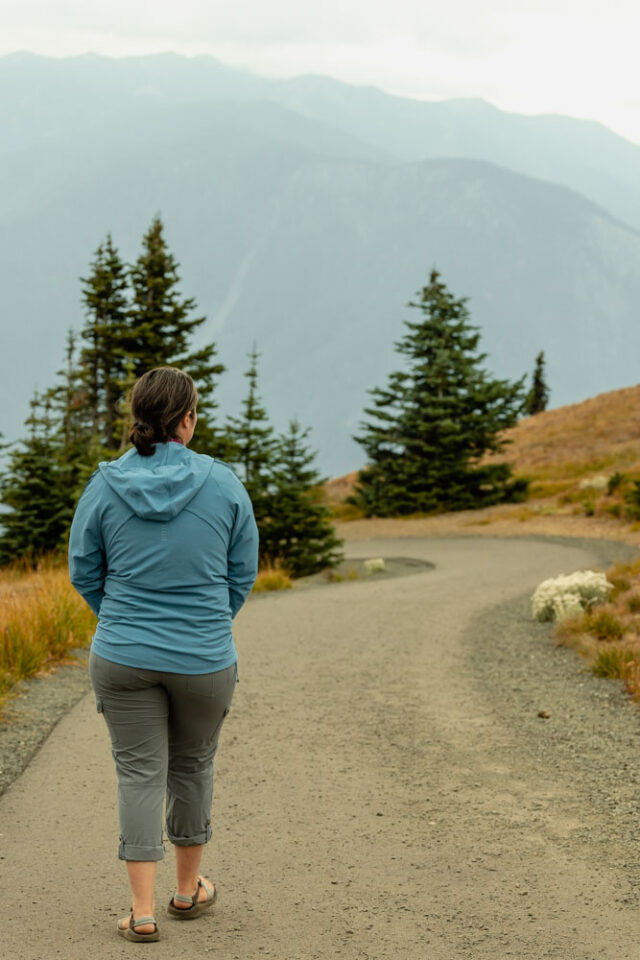
Sunrise Ridge Trail | the best easy hike in the area
- Difficulty: easy
- Elevation Gain: 300 feet
- Terrain: partially paved, partially packed dirt
- Length: 1.4 miles round trip
- Location: 47.97605, -123.48408
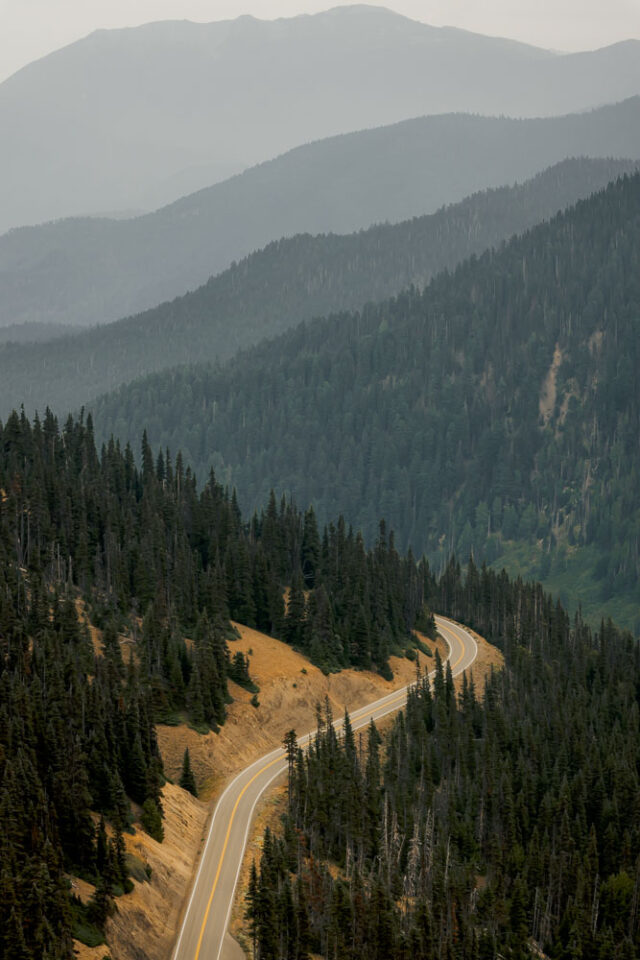
Sunrise Ridge trail was our favorite hike in this area. We had hoped to go for Klahhane Ridge Trail, however, ran out of daylight. So instead, we meandered around the trails right around the Hurricane Ridge Visitor’s Center and found ourselves at Sunrise Point.
The view from here puts the mountains in a perspective that makes them feel ten times larger than what they look like from the visitor center. The trail winds up through some uneven terrain, and past an old ski lift, offering different views everywhere you turn.
We thought it was awesome how you could see Hurricane Ridge Road twisting up the mountain, and see a panoramic view of the mountains from all different sides. Again, the view here was awesome, and while the trail isn’t paved, making it not accessible to all, it’s worth it for those that can handle a bit of the uneven terrain.
Hiking at Hurricane Ridge | photos and why Sunrise Point is best!
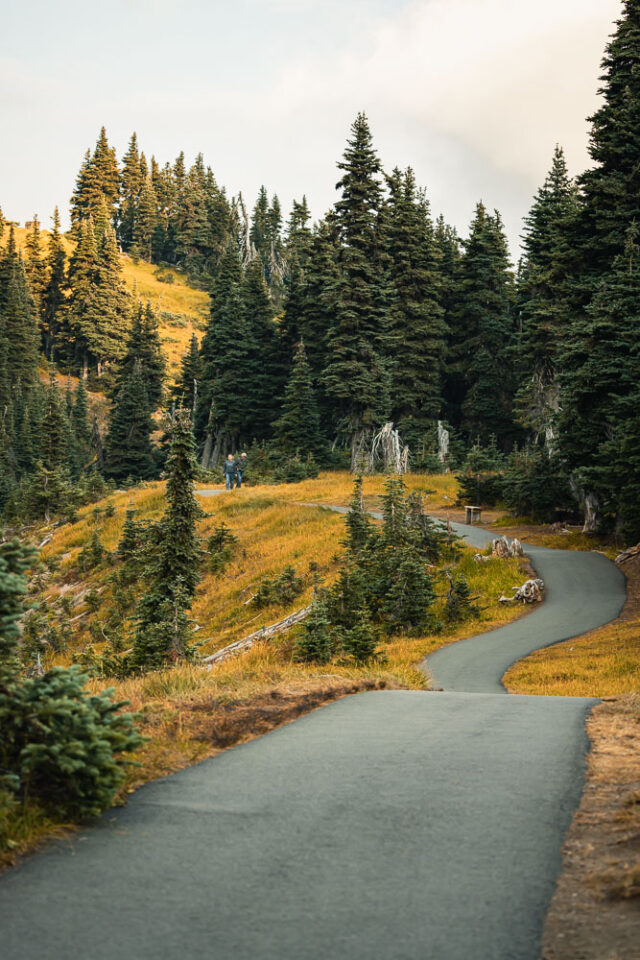
Elwha Region | Olympic Hot Springs Area
There are a handful of signs on the highway saying this area of the national park is closed to vehicles. It’s really frustrating that it says that because it’s not.
Only part of this area of Olympic National Park is closed, due to the road washing out in two different locations. However, you can still drive to Madison Falls!
Madison Falls is the most popular hike in this area, and is a super short paved trail, max five minutes of walking, to a waterfall. There are also a handful of other hikes in the Elwha Region, that all have extended hiking distances due to the road being closed at Madison Falls Parking Area. However, hiking to the Olympic Hot Springs is by far the second most popular in the area.
Madison Falls | easy two-minute walk
- Difficulty: easy
- Elevation Gain: 50 feet
- Terrain: paved path
- Length: .2 miles round trip
- Location: 48.04108, -123.58999
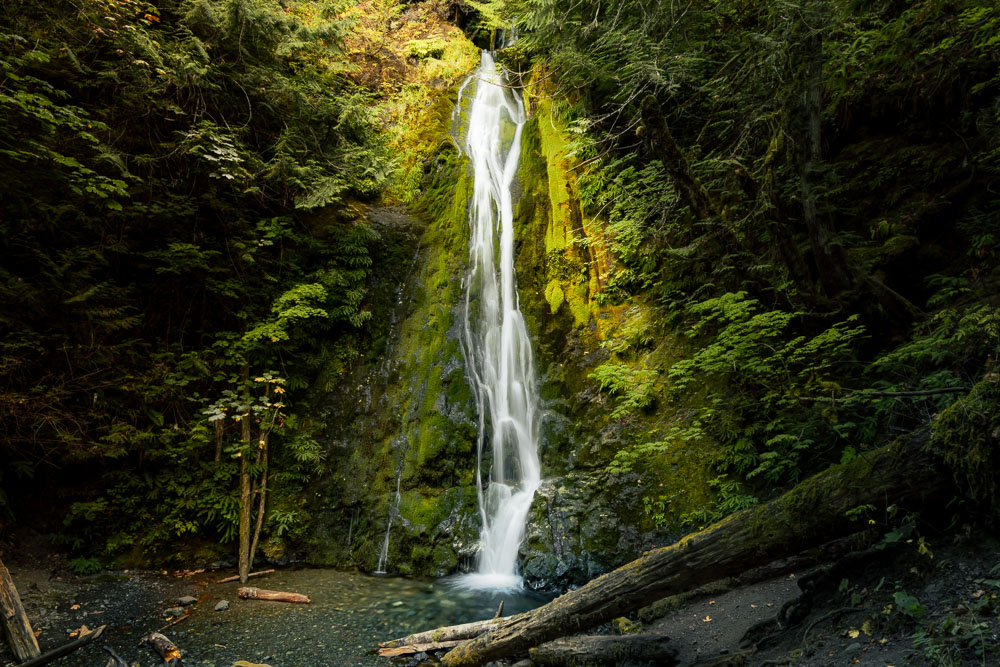
This hike can hardly be classified as a hike and is instead a wee walk on a paved path with very little elevation. The waterfall is legitimately 500 feet from the parking area. But it’s not one to be missed.
This trail is a self-guided trail, with two signs about the trees in the area, leading to Madison Falls. Madison Falls is a 60-foot waterfall with lush greenery all around. If you’re feeling adventurous, search for the secret cave/tunnel to climb through.
Otherwise, sit and enjoy the sound of the waterfall crashing down and the leaves rustling around in the wind.
3 Waterfalls in Olympic National Park | with map and trail guides to each
Olympic Hot Springs | overnight trek or brutal ride
- Difficulty: strenuous due to length and elevation
- Elevation Gain: 2,109 feet
- Terrain: paved road, with uneven bypass trail, and compact gravel with downed trees at end
- Length: 22.2 miles roundtrip
- Location: 48.04108, -123.58999
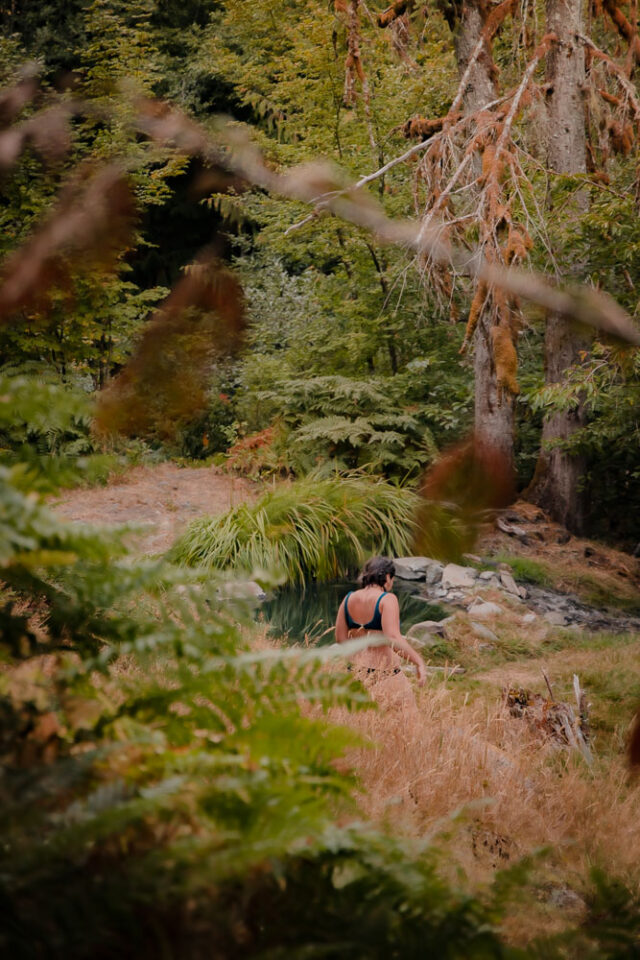
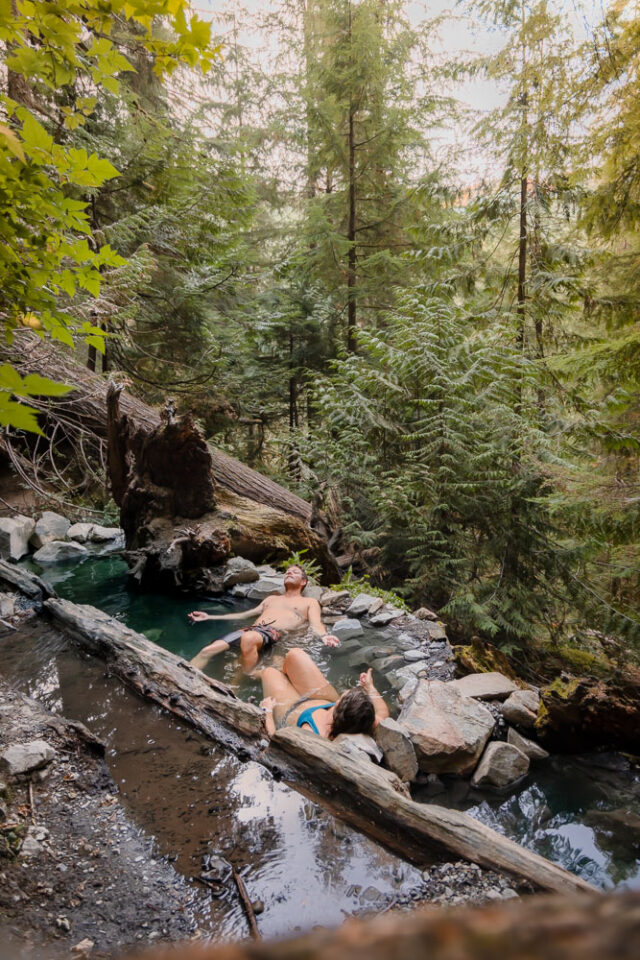
When the road was still in tack, this was a 2.6-mile one-way hike to hot springs from a trailhead up a mountain road. However, two areas of the road have since been washed out, making this hike now an 11.1-mile one-way hike to hot springs, starting at the Madison Falls Parking Area.
Loads of people snag an overnight backpacking permit and camp up by the hot springs, as completing this hike in a day is near impossible. However, we skipped the hiking idea, and instead rode our bikes all the way to the hot springs.
Whether you ride or hike, keep in mind, you’re literally going right up a mountain. The “trail” is just the old Olympic Hot Springs Road and it’s all uphill. Totally worth a ride in my opinion. As for a hike… I would say worth it if you’re going to spend more than one night up in the area!
After visiting Olympic National Park, and this region specifically, it does not seem like the national parks service has any plans of reopening the road to Olympic Hot Springs.
Storm King Region
The Storm King Ranger Station and trailheads are located right in the heart of Lake Crescent. There’s ample parking, a small visitor’s center, bathrooms, and a campground right at the base of the trails.
There are two major trails leaving from this area, Storm King and Marymere Falls.
Storm King | brutal, but gorgeous
- Difficulty: strenous
- Elevation Gain: 2,065 feet of switchbacks and rock scramble climbing
- Terrain: switchbacks, roots, rock scramble, uneven
- Length: 4.4 miles round trip
- Location: 48.05787, -123.78861
Holy smokes, this hike is a beast! It’s 2.2 miles completely uphill one way. Followed by 2.2 miles returning, completely downhill the entire way.
Within the 2.2 miles, you climb over 2,000 feet in elevation gain through a system of switchbacks, ending with a rope and rock scramble to the top.
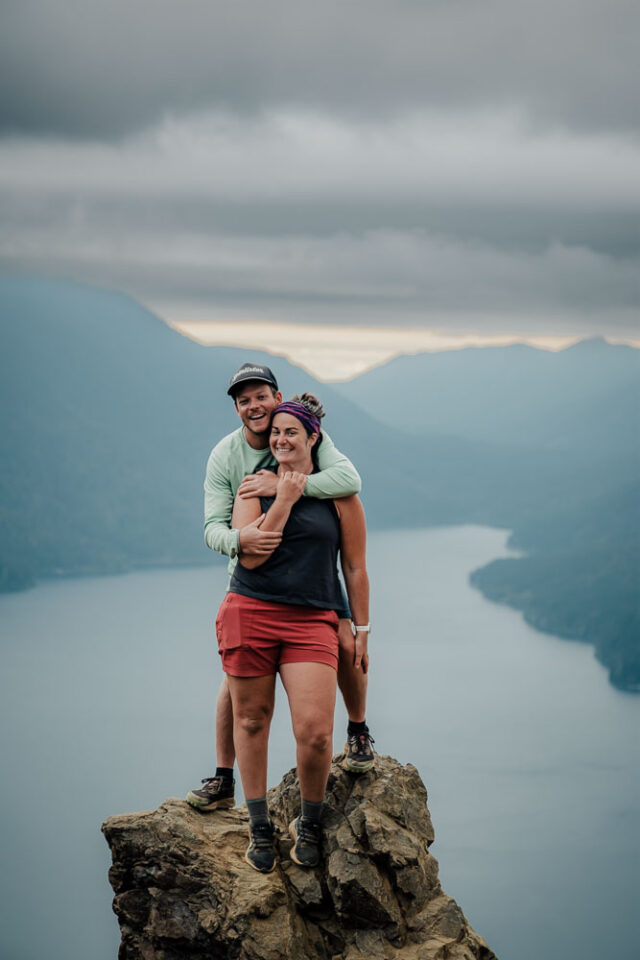
This hike was the most grueling hike we did in Olympic National Park, but it was also the best. The trail climbs through switchbacks up a beautiful forested area, seeming like a PNW wonderland, before cresting the ridge of the mountain giving the first look at Lake Crescent from above.
You’ll follow the ridge for a bit, before diving back into switchbacks in the mountain, and then come across a sign saying, “the trail is not maintained past this point.” That sign is basically there to get the NPS off the hook for anyone falling to their death at the last bit of the trail.
Yes, falling to their death.
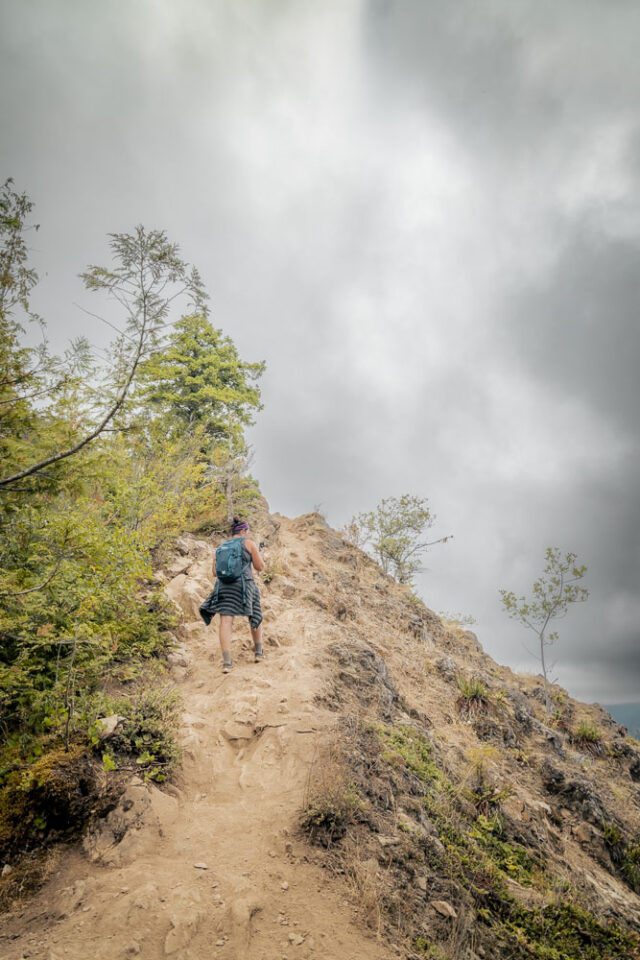
The last bit of the trail is a rock climb with a cliff going down both sides, followed by a rope scramble up the face of the mountain… With loose gravel and dirt beneath your feet. … And the side of the mountain beckoning you to fall down.
After the rope section, you’ll have one more rock scramble before being greeted with views that just take your breath away.
Do this hike at your own risk, and do not feel bad tapping out once you get to the rope section. It’s scary and hard, and nobody should be forced into doing it!
Marymere Falls | 90-Foot Waterfall
- Difficulty: easy
- Elevation Gain: 500 feet
- Terrain: flat even ground until bridge crossings + stairs at the end
- Length: 1.8 miles round trip
- Location: 48.0581, -123.7889
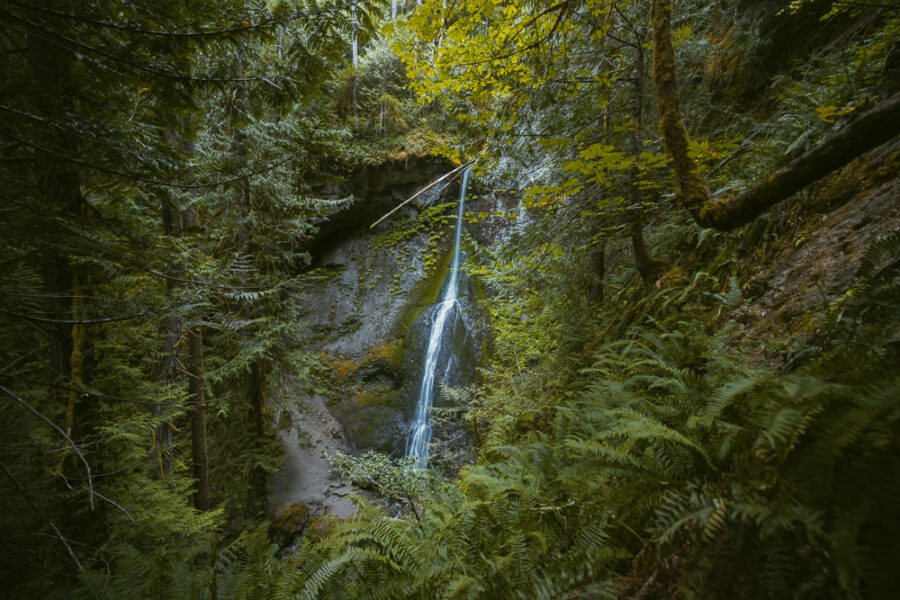
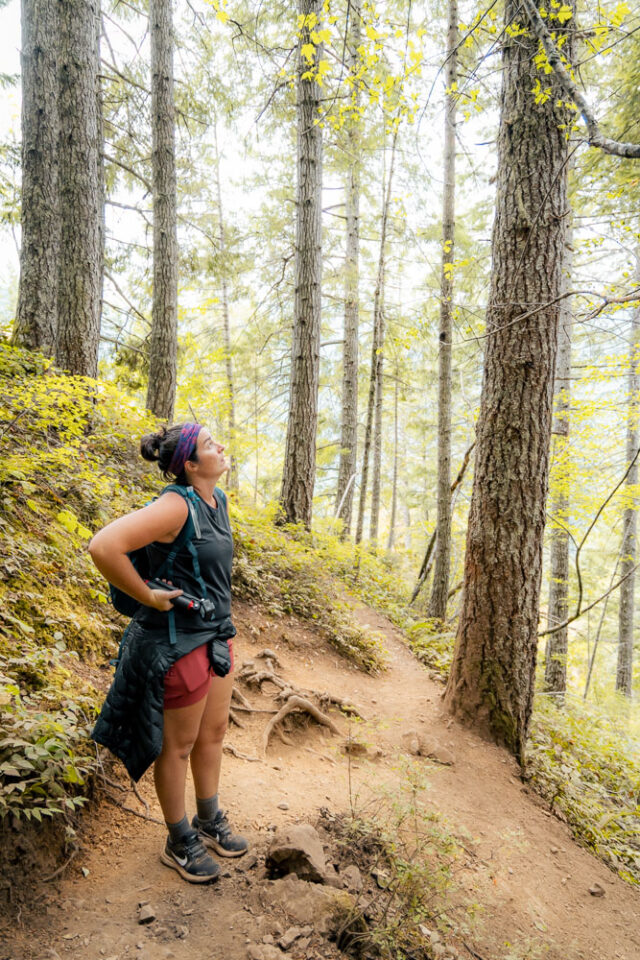
This hike was a sweet stroll through the park compared to the neighboring Storm King hike! Marymere Falls is a relatively flat hike through the forest. The trail is mainly compact with few fall hazards, up until reaching the area of the trail closer to the river.
Once the trail approaches the river, there are a couple of steps to climb up onto two different bridges and then off them again. After crossing the second bridge, you’ll have the most elevation of the entire hike, climbing up a couple of flights of stairs to two different viewpoints of Marymere Falls.
This hike is a lovely hike to the river, even if you can’t complete the stair section. And for those capable, the stair section is short. It’s great for kids and those looking for a short hike in the forest!
The stair section of the trail is a loop to two different viewpoints before the trail comes back on itself like a lollipop, where you retrace your steps back to the parking lot.

Olympic National Park Hikes in the Sol Duc Region
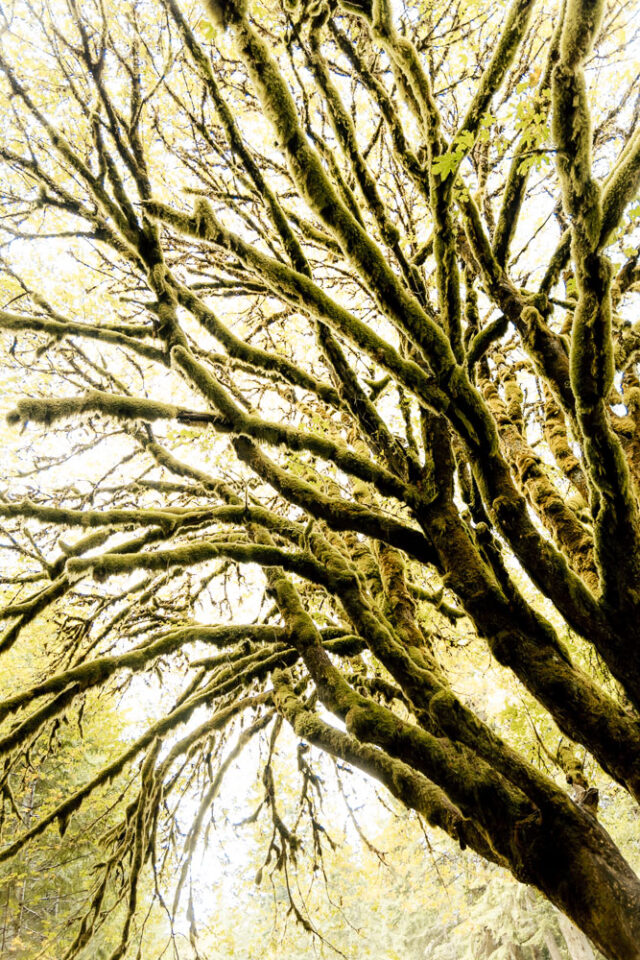
The Sol Duc area of Olympic National Park is well known for two things, one the hot spring, and two the Sol Duc Falls. Although, looking deeper into this region of the national park, you’ll quickly learn this is a huge Mecca for overnight backpacking trips as well.
The Sol Duc Falls Trailhead is also the trailhead to multiple overnight trips in the Seven Lakes Basin, along with longer day hikes to lakes in the area (Deer Lake + Mink Lake). We spent more time at the Salmon Cascades (read about it here) than we anticipated, leaving us to only have time to hike to Sol Duc Falls.
Salmon Cascades | fish jumping up a waterfall
- Difficulty: easy
- Elevation Gain: none
- Terrain: flat path to lookout
- Length: 500 feet
- Location: 48.02296, -123.92362

This really isn’t a hike, but more of a short walk to a viewpoint, but it’s one not to miss. After you pass the entrance station to the Sol Duc Region, you’ll come to a parking area labeled Salmon Cascades. Pull in here, get out, and walk a hundred yards or so to the overlook.
Watching the water cascade down the river 11 feet, you’ll quickly learn there’s more to this area than just watching the water. Salmon both large and small start jumping up the cascading water! It’s a sight to see! You can easily see 50 salmon making their attempt upstreams just by watching for an hour!
I’ve read that the salmon migration is in the fall. So be sure to be here between September and November if you want to witness the fish jump!
Sol Duc Falls | a three-fingered waterfall
- Difficulty: easy
- Elevation Gain: 289 feet
- Terrain: mainly even, some roots to climb over
- Length: 2.8 miles round trip
- Location: 47.95523, -123.83572
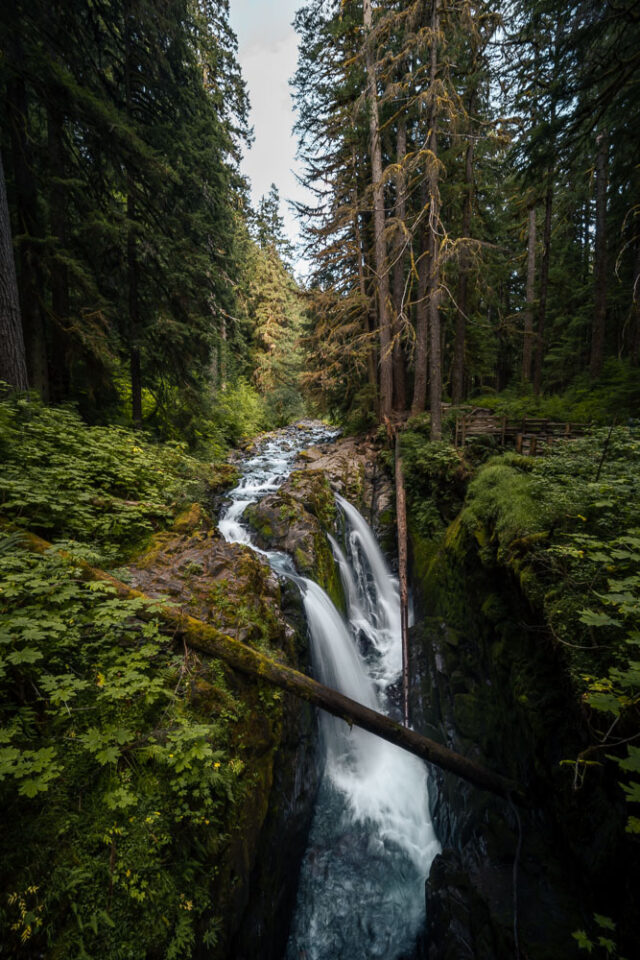
Sol Duc Falls is a gorgeous hike at the end of the road of this finger of the national park. At the trailhead, you’ll likely see loads of cars. Don’t worry, they are not all here for the waterfall hike. In fact, when we visited the parking lot was nearly full, yet we really only saw around ten other groups of people the entire hike!
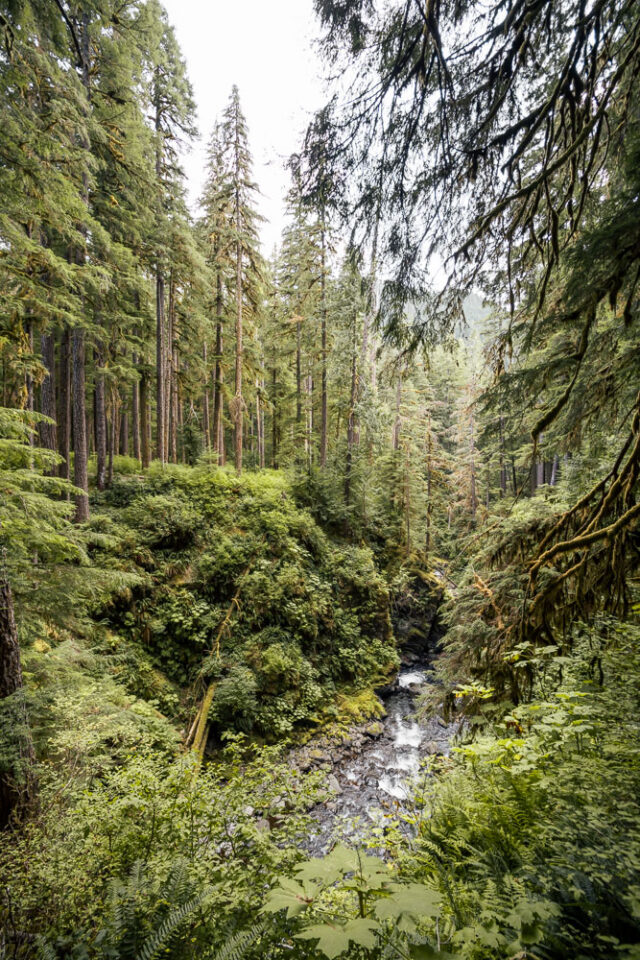
This hike is through an old-growth forest, to a waterfall that has three fingers to it. However, I think the best part of the hike is looking the opposite way down the canyon instead of up it to the waterfall at the bridge. If the afternoon sun is hitting the canyon just right, the ferns on it illuminate showing off a breathtaking sight!
There is minimal elevation gain going to Sol Duc Falls, and while there are some roots and rocks to climb over, for the most part, the hike is really easy. The most difficult part is the end of the trail going down towards the waterfall, but there’s a railing there to help with stabilization.
If you get a backcountry camping permit, there are some great spots right at Sol Duc Falls. We saw people of all ages backpacking along this trail!
READ MORE | Our Experience in The Sol Duc Area + Where to Stay Nearby
Other Hikes In the Area
- Deer Lake
- Mink Lake
- Lover’s Lane
- Seven Lakes Basin Loop (Backpacking)
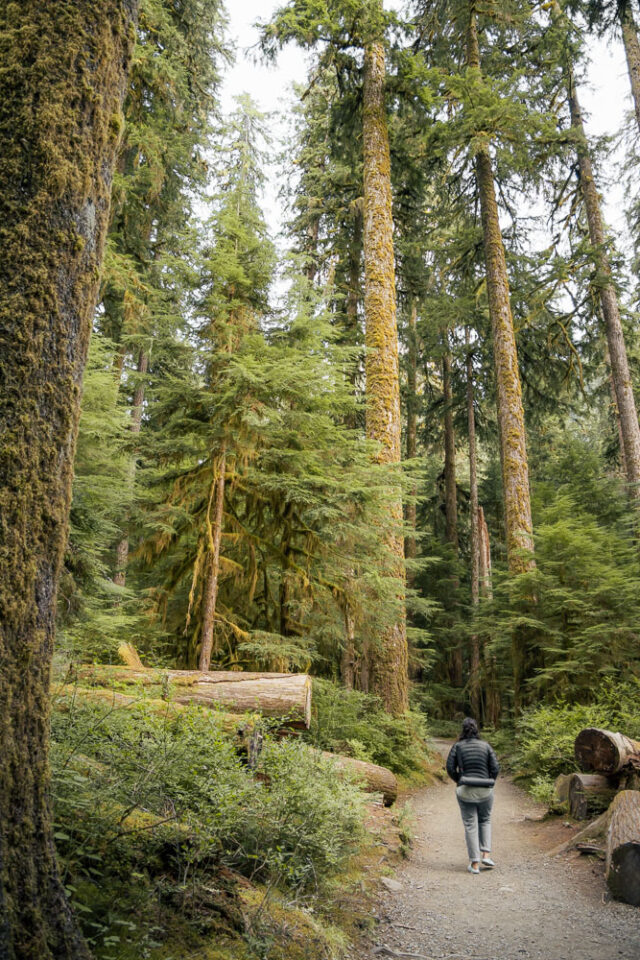
BEACH HIKES | OLYMPIC NATIONAL PARK
There are quite a few areas of beach access within the national park. However, we had to pass on Ruby Beach (meant to be really awesome) due to it being closed, and also passed on most other beaches to reach Hurricane Ridge before it closed for construction. From what we’ve heard, don’t miss Ruby Beach!
Rialto Beach Hole in The Wall
- Difficulty: easy
- Elevation Gain: 20 feet climbing through tidepools
- Terrain: sand until the tide pools, then rocks
- Length: 3.7 miles round trip
- Location: 47.9196, -124.63832
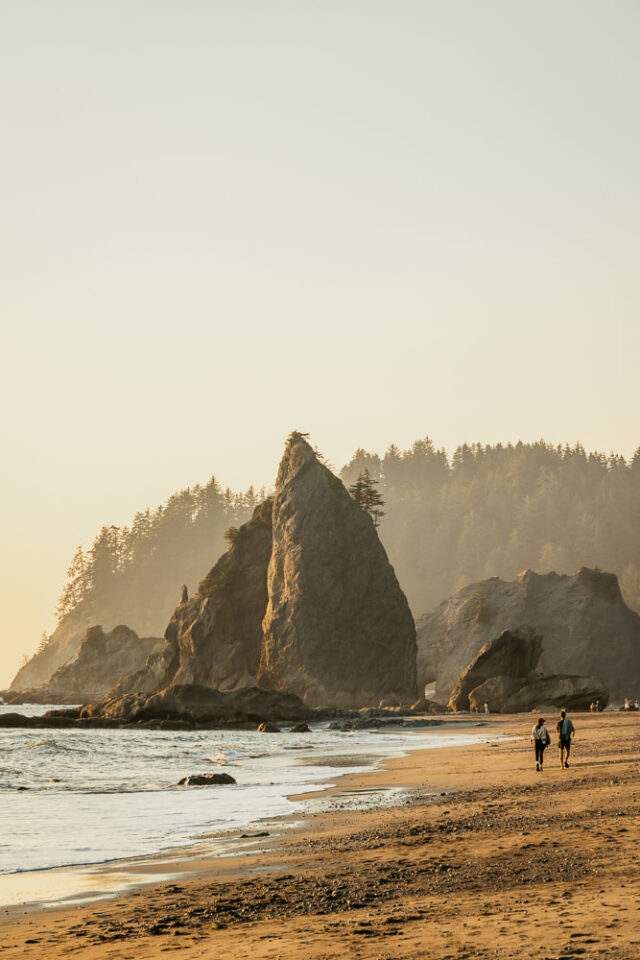
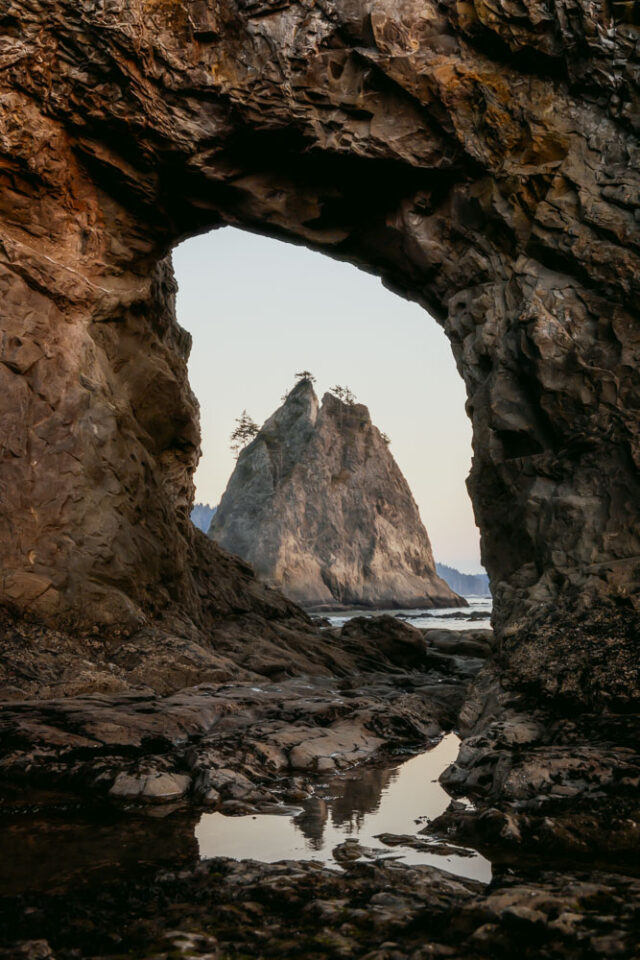
This is an easy 1.5-mile hike one way to the hole in the wall at Rialto Beach. The trickiest part of this hike is timing the tide! You can only accomplish the hike to Hole in the Wall at Rialto Beach when the tide is out. Check tide tables here.
Anyways, as this is a beach hike, you’ll be walking on the sand all the way to some tide pools. Upon reaching the tide pools, you’ll scramble over them and through the Hole in the Wall. You can continue hiking up the beach if the tide allows for some more epic scenery.
Rialto Beach was one of our favorite places in Olympic National Park.. it’s definitely not something to miss!
If you can, snag a backcountry camping permit and sleep right on the edge of the ocean. There were people 50+ people camping on the beach when we went through! Such an awesome experience. Again, check the tide, and with national park rangers, to make sure it’s safe for the time you’re aiming for!
READ MORE | Our Dreamy Expereince at Rialto Beach + Camping Nearby
Tree of Life
- Difficulty: easy
- Elevation Gain: 20 feet
- Terrain: sandy beach path with big drop-off to the beach
- Length: .2 miles
- Location: 47.61317, -124.3767
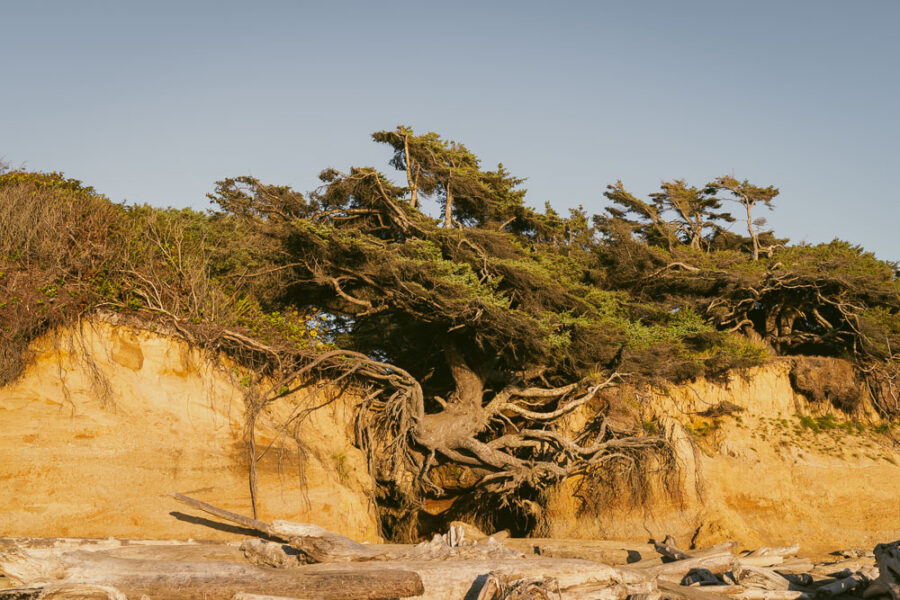
This is a very short walk down a beach path to a tree that looks just completely unreal. It’s amazing how the tree is still alive!
The beach path from Kalaloch Day Use is an easy path until the end where there is quite a big drop-off on the actual beach. Unfortunately, this means this area is not really accessible to all, as limited mobility would definitely hinder accessing this tree.
Hoh Rainforest Hikes | Olympic National Park
The Hoh Rain forest is well known for the Hall of Mosses Trail. It’s also the start of a major backpacking trip that leads to Blue Glacier at the base of Mount Olympus. This area of the national park gets extremely crowded and in the busy times, has a one-car in, one-car out policy due to limited parking!
If visiting the Hoh Rainforest, try and go in the morning. The lighting will be better in the rainforest! And, as a bonus, you’ll miss both the road construction (starting at 10 am) and the one car in one car out policy (starting when the lot is full).
Hall of Mosses Trail | really worth it?
- Difficulty: easy
- Elevation Gain: 75 feet
- Terrain: uneven with roots to climb over
- Length: 1.27 miles round trip
- Location: 47.86088, -123.93483
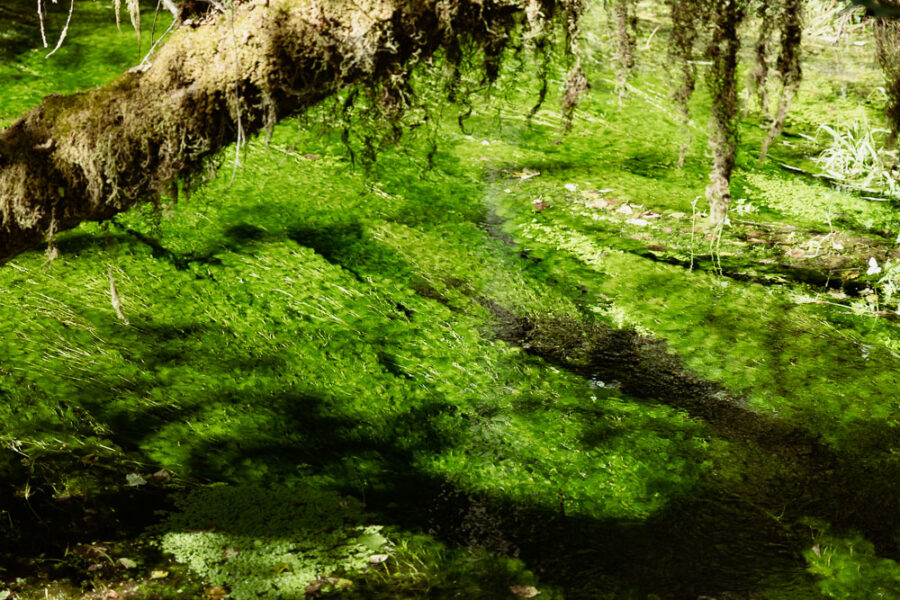
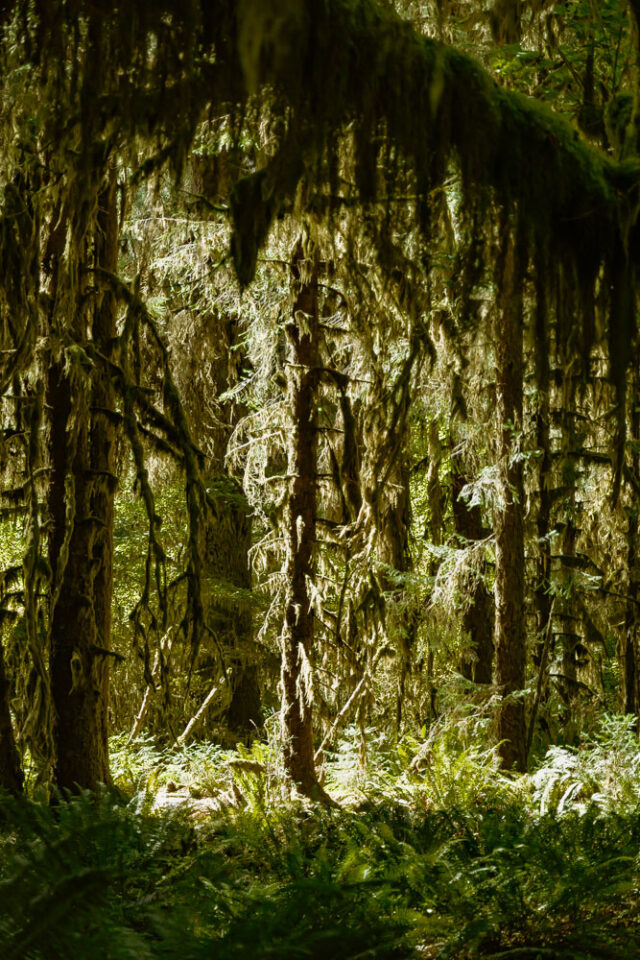
This trail is made popular from pictures floating around on Instagram, and one researcher staying the quietest place on earth is found in the Hoh Rainforest. However, that’s certainly no longer the case most of the time with how busy the trail gets.
We visited the Hall of Mosses in the middle of the day and were extremely underwhelmed by the place. It was super crowded and to be honest, the lighting sucked.. making it not as dreamy of a feel as we were expecting. So trust us, visit in the morning or in the evening to get this place in all its glory!
The Hall of Mosses trail is an easy, mostly flat trail except for one small climb in the beginning. However, the terrain is rough. While some parts are graveled and smooth, the majority of the trail is covered in roots to step over, and so many elderly people were making me SO NERVOUS hiking this trail.
It’s not as accessible as you’d think with how popular it is, so be sure to keep that in mind if you do choose to hike this trail.
For those looking for a fully accessible hike, there is a short loop, the mini trail, that is fully accessible. It’s really short, like 1,000 feet long. But it’s there for your enjoyment!
Other Hikes in the Area
- Spruce Nature Trail
- A 1.2 mile loop that’s a self-guided trail through the rainforest closer to the river.
- Hoh River Trail
- This is the long overnight backpacking trail to the base of Mount Olympus. It’s 17.3 miles one way, so certainly not for the inexperienced!
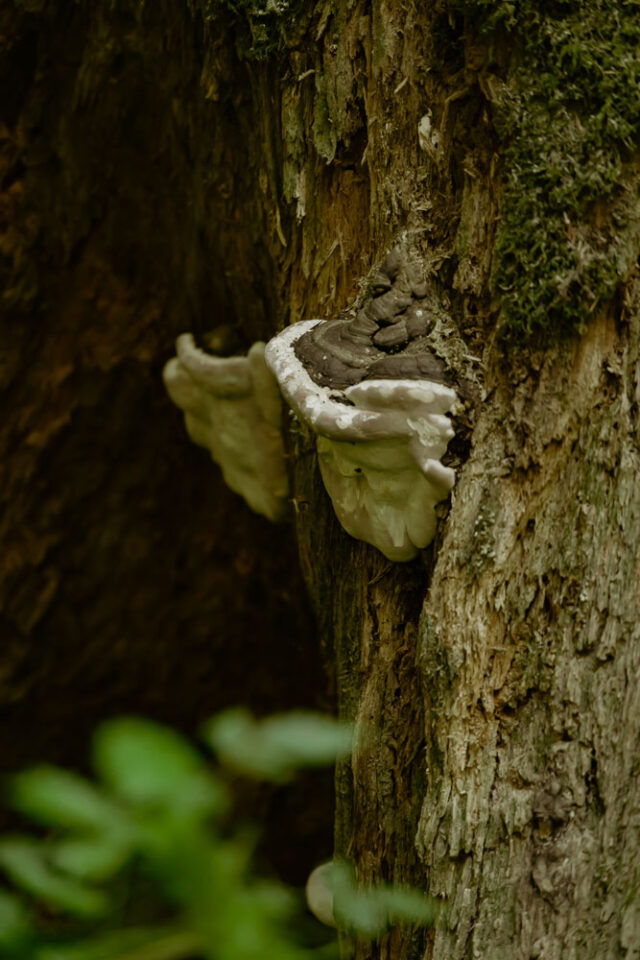
Quinault Rainforest | Dog Friendly Hiking Trails Near Olympic
The Quinault Rainforest is technically part of the national forest, offering pet-friendly hikes through the old-growth rainforest! Don’t miss this region of the national park/national forest!
We skimmed past this area except for the two small hikes we did, and honestly, are really bummed we did. This area ended up being on of our favorite areas of Olympic National Park, and upon researching it more, there is so much to see here! Spend some extra time if you have it in this region!
Quinault Rainforest Nature Trail | our favorite hike
- Difficulty: easy
- Elevation Gain: 83 feet
- Terrain: packed forest ground
- Length: .77 miles
- Location: 47.45983, -123.86233
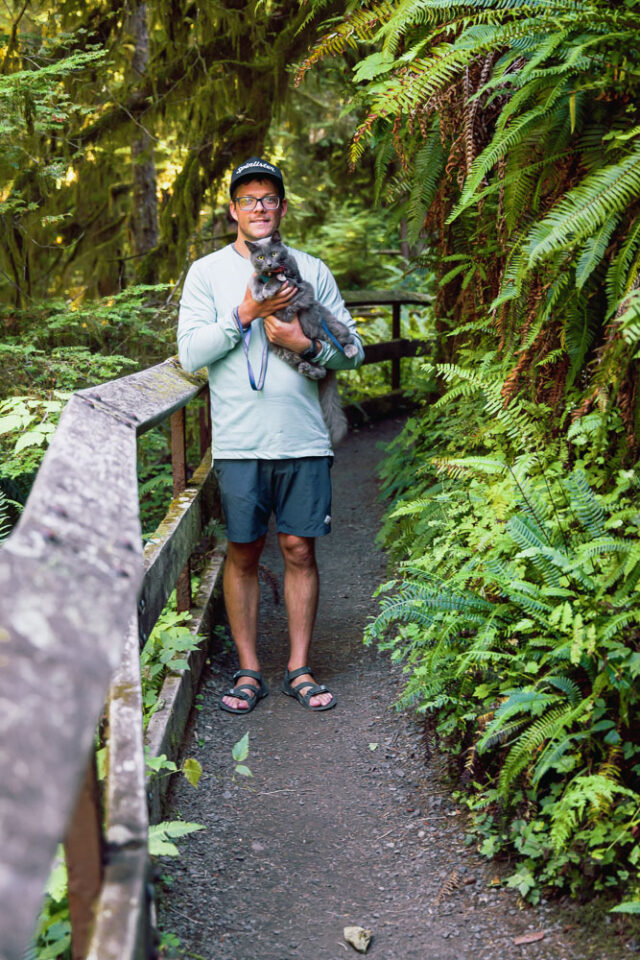
This was our favorite rainforest hike in the area for a number of reasons.
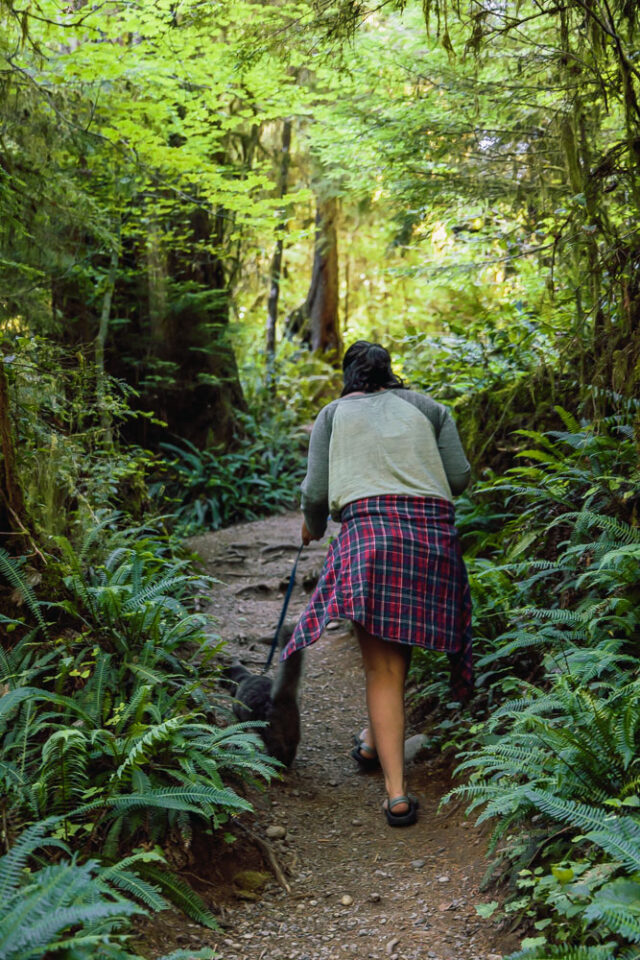
First, it’s not nearly as busy as the neighboring Hoh Rainforest, that’s always a plus. Pets are allowed to join on the trail, another bonus! And, the trail immerses you more in nature than the rigid Hoh Rainforest Trail.
The ground is the natural forest grounds, and you get to tuck in really close to trees and plants. It really feels like you’re in another world on this trail! We absolutely loved it.
There are minimal roots and cut-up fallen trees to navigate over, along with minimal elevation gain. But slow and steady is the way to this trail… it’s breathtaking!
World’s Largest Sitka Spruce | one big tree
- Difficulty: easy
- Elevation Gain: 14 feet
- Terrain: packed gravel
- Length: .48 miles
- Location: 47.47588, -123.83062
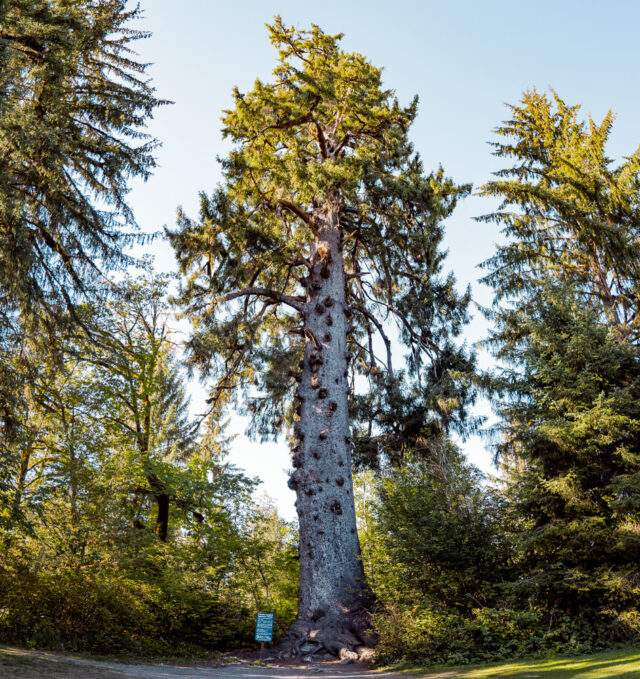
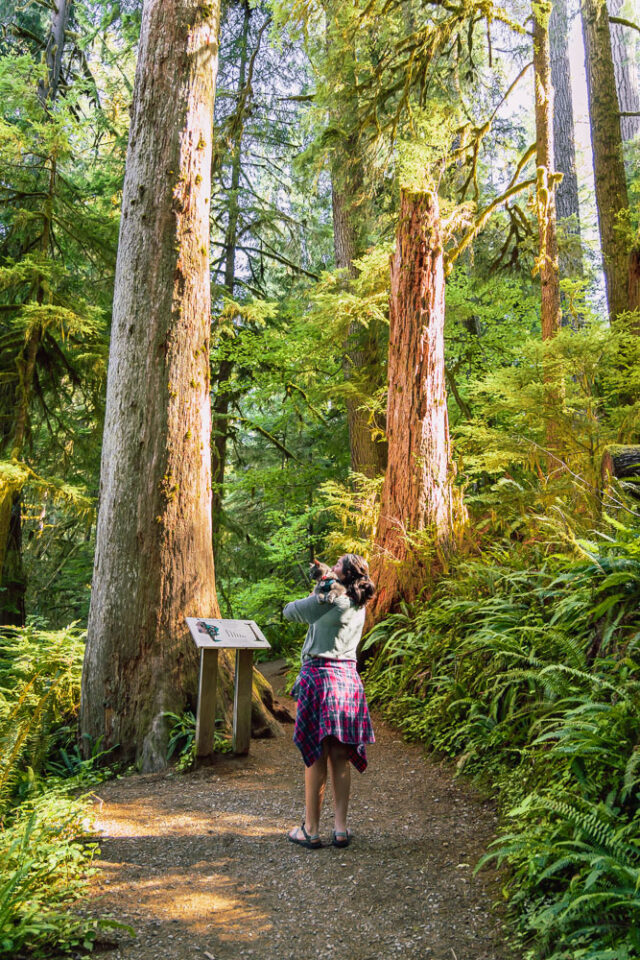
This was a super short hike that made us laugh. It’s literally on a trail leading right to a tree, that really doesn’t seem all that large. But apparently, it is, seeing how it’s the world’s largest of its kind.
It’s a short hike to the tree, that’s all gravel with minimal elevation change, but nothing I would go out of the way for!
Getting To The Olympic Peninsula
The Olympic Peninsula is where Olympic National Park is. It can be a bit awkward to get to, especially since the national park has no roads actually through it. You’ll basically be taking a road trip on US Highway 101 in Washington to explore Olympic National Park.
You’ll want to fly into Seattle or Portland (Seattle is closer distance-wise, but awkward with ferries), and then rent a car to drive around the Peninsula.
If you’re taking ferries, be sure to book them in advance, so you don’t have to wait in standby for multiple ferry crossings as we did. Keep in mind, opting out of ferries means taking toll roads out of Seattle to Olympic National Park!
To avoid all this, you can simply fly into Portland, head to Aberdeen, Washington, and then continue up the loop of Olympic National Park.
Search Car Rentals at momondo.com and Save Up to 35%
Search Flights at momondo.com and Save Up to 35%

What To Pack For Hiking
You should never hit a trail without being prepared. Some of the things below seem like extra, but you always want to have them for the worst-case scenario. Be sure to always pack more water than you think you’ll need. And even for a short hike, pack some snacks for just in case!
A Camelbak Style Water Pack + Backpack | current prices here
Typically, we hike with our Nalgenes and pack a water filter for if we run out of water. However, not all hikes listed here have water access to filter, so you need to pack enough, and really more than enough than you think you’ll need.
Bringing a backpack with a camelback built in helps you to not only drink more water, but it’s also easier to carry the water too.
Snacks | find some here
Granola bars, energy bars, fruit, jerky, or even some Snickers are a good thing to throw in your backpack. Tt’s always nice to have some food just incase you want to stay longer at the top, or if the worst happens and you get stuck or lost.
We like to throw in a can of tuna with crackers and avocado or cheese when we hike. We often don’t eat it, but it’s always nice to have just incase we really need the extra energy.
Flashlight | check current prices here
It’s amazing how dark the forest gets, even before sunset. It’s also crazy how dark it gets when clouds come and cover the sun. Having a flashlight in your pack is an easy way to stay safe if the weather changes or the forest gets darker than you expect!
Trail Shoes | check current prices here
Trail running shoes are the best shoes in our opinion for hiking. They’re more grippy than regular shoes, are super comfortable, and are waterproof! And they’re not as bulky or heavy as boots, which we hardly ever use!
Extra Layers | read more about layers and packing here
Layers are a must when doing any hike. You’re not being a responsible hiker if you don’t bring layers to wear if you get cold. We like to pack our rain jackets for if it becomes too windy or starts to rain, and then down jackets, a Merino Wool long sleeve, and Kuhl pants to throw on if it gets really cold.
Olympic NP Hiking Camera Basics
You’ll quickly notice all our camera gear is PeakDesign. We shoot with a Canon R5 and love the camera. The PeakDesign gear we recommend is compatible will all cameras though. So no worries if you’re shooting with something else!
Camera Tripod | find it here
Our tripod of choice is the PeakDesign backpackers tripod. It’s lightweight and compact, making it easy to fit in a backpack. We also love that there’s a built in phone attachment to set your phone up on the tripod as well. This tripod is an investment, but it’s a good one.
Camera Backpack Clip | grab yours here
Oh my goodness. What a game changer in the world of hiking with a camera! This clip attaches to the strap of your backpack, and with one easy release button, you can release your camera to get the shot before easily clipping it back to your pack.
It’s probably our most used piece of camera equipment when hiking.
The Clutch | you won’t regret this purchase
This camera strap is just for going around your hand. It comes in clutch, get it!?, when shooting in iffy places. It also just gives that extra peace of mind that you won’t drop your camera when shooting. The clutch is low profile and an essential in our book for protection of your camera!
More on the Olympic Peninsula + Olympic National Park
Mountain Biking to Olympic Hot Springs
Rialto Beach | a must have experience
Free Dispersed Camping in the Olympic National Forest
Olympic National Park in 3 Minutes | a teaser for your visit
Save + Share
It helps us tremendously when you share what we write. It not only allows other people to enjoy this area of the world too, it also is a great way to tell us this post was helpful and we should continue writing more like it in the future!
