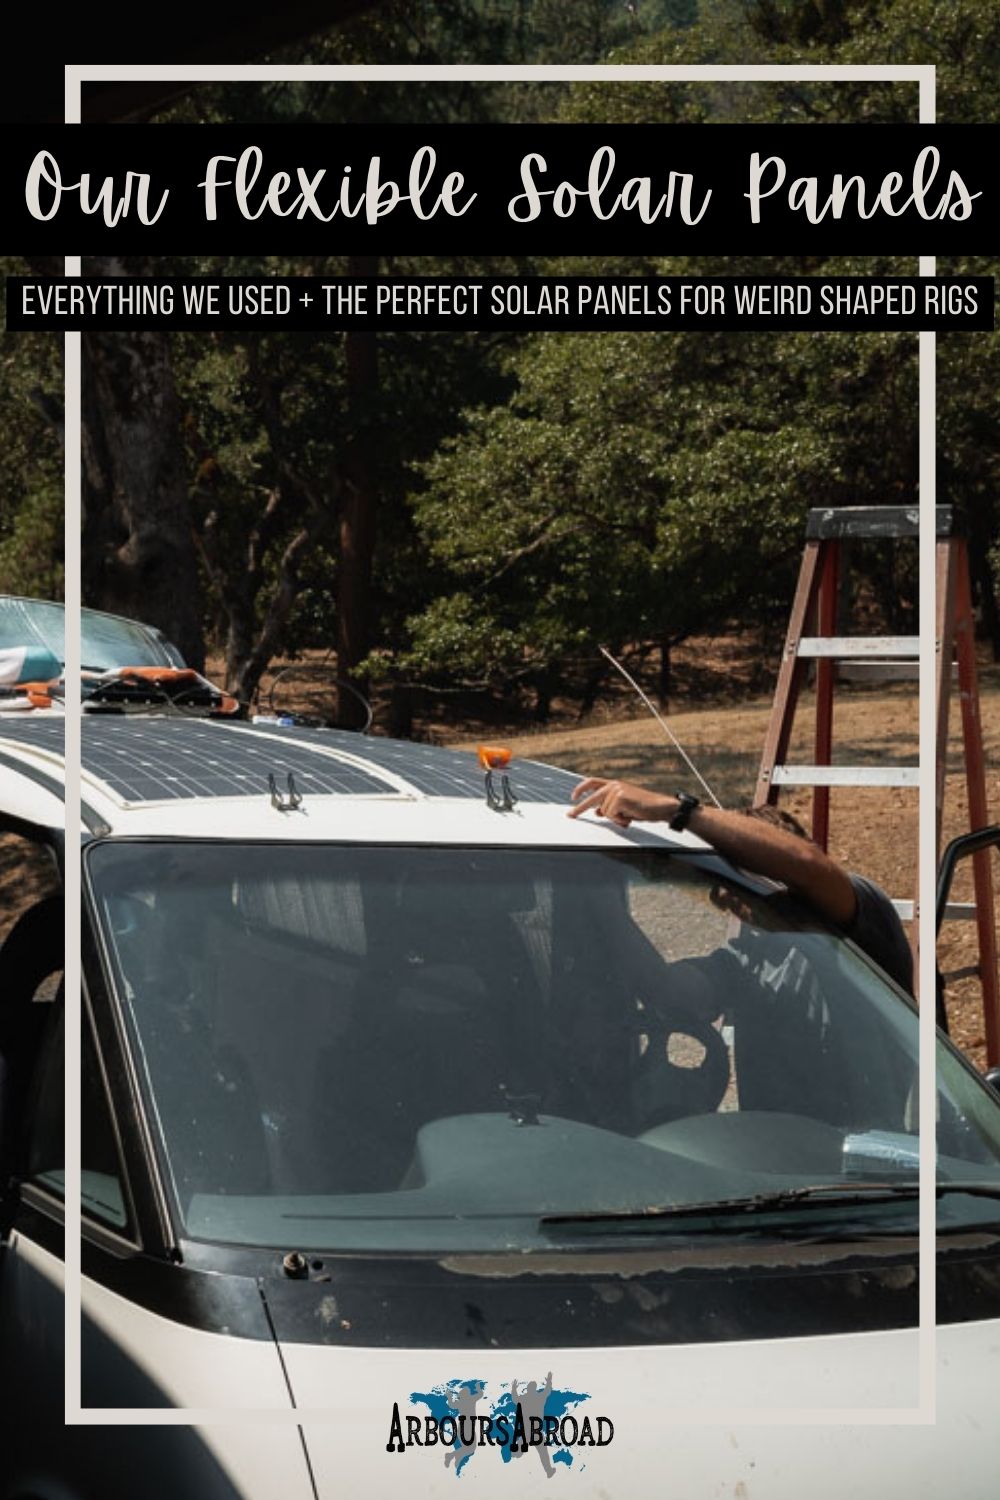

Renogy’s flexible solar panels for campervans are perfect for a minivan conversion. They’re lightweight, bendable to fit the curve of the roof, and not too hard to install.
Flexible solar panels for a campervan are the best way to get solar power to smaller campervans. The power makes the minivan feel more like a home, and while it seems a bit confusing in the beginning, it truly isn’t that bad once you have all the van solar system parts in front of you.
We found that our heads were spinning whenever we tried to visualize our campervan solar system. However, once we started ordering parts, everything started making more sense. Our hope in this post is to give you an exact list of every item you need for your solar panel setup, followed by a more detailed list of why you need each item. Trust us when we say, when all the parts are in your hands, it all makes so much more sense!
At the end of this post, we have links to all things solar. How to install flexible solar panels, choosing the best solar panels for your van build, what the best van battery is on the market, and more.

This post contains affiliate links. As an Amazon Associate, we earn from qualifying purchases. If you buy through one of our links, we may earn a small commission at no extra cost to you. Read our full disclosure policy.
Flexible Solar Panels For Campervans Materials
12 V 31 AGM 48 Batteries (two wired in parallel)
Renogy 100 Watt 12 Volt Extremely Flexible Monocrystalline Solar Panel (2 panels)
Wanderer Charge Controller by Renogy (protects the battery and solar panels)
Renogy 8ft. 10 AWG Wire Copper Tray Cable (connect charge controller and battery)
Male/Female Pair Branch Connectors by Renogy (makes two solar panel cables one)
10 Pcs 3/8″ Nylon Cord Grip NPT Cable Glands Adjustable (for inserting cables into van roof)
Renogy 30A Set w/Holder ANL Fuse (for between charge controller and batteries)
Renogy 20A Set w/Holder ANL Fuse (for between charge controller and solar panels)
Waterproof Gorilla Tape (for extra backup of mounting)
10 Stainless Steel #10-24 pinhead Phillips Bolts/Screws
10 Stainless Steel Fasten #10 Washers
Stainless Steel #10 Split Lock Washers (10 of them)
10 Stainless Steel #10-24 Nylon Lock Nuts
Butyl Tape (for mounting seal)
Coroplast (for mounting and preventing too much heat)
A Closer Look At Our Campervan Solar Setup
12 V 31 AGM 48 Batteries (two wired in parallel) | check prices here

The exact batteries we used to have for our van are not available online. They were AGM lead-acid batteries. We purchased them from a local battery store. However, these Renogy 100 amp hour batteries are quite similar to the ones we purchased as far as the type and size of the battery go. Although, we’d definitely go with Lithium batteries next time around.
That last sentence is so true! We did go with two 100ah lithium iron phosphate (LiFePO4) batteries. We needed more power and less weight and the the Goldenmate 100ah LiFePO4 Lithium Battery got us where we wanted to go!
Something to note with van batteries, if you can afford a lithium-iron battery, it’s worth the money. They’re less than half the weight and can be drained down 100% of the battery juice. Whereas the sealed deep cycle batteries can only be drained to 50% battery capacity. They also have a much longer life span, making them actually cheaper in the long run.
Learn More About Batteries and the Best Ones for Campervans Here.
Renogy 100 Watt 12 Volt Extremely Flexible Monocrystalline Solar Panel (2 panels) | check prices here
There was absolutely no way a hard, rigid solar panel was going to fit on the top of our minivan roof. And we also didn’t want the extra weight on the roof either. Thankfully, there are so many other options for solar power these days, including these Renogy flexible solar panels for campervans. We went with two 100 watt flexible solar panels and they have been great for providing solar power to cover all our needs.
READ MORE | Choosing the Best Solar Panels for Your Campervan
Wanderer Charge Controller by Renogy (protects the battery and solar panels) | grab it here
Charge Controllers are a very important bit of any campervan electrical system. They protect both your batteries and solar panels. There are a lot of different charge controllers on the market, and the hot new topic is the MPPT charge controllers. We opted to not go with these controllers because you often need internet to use the extra information the MPPT charge controllers give.
Instead, we went with the basic Renogy Wanderer Charge Controller. This has done a great job in keeping both our batteries and solar panels safe. It does not tell you what capacity your battery is at, however, our fridge does. So we didn’t really care.
RENOGY 8ft. 10 AWG Wire Copper Tray Cable | grab one here
Tray cables connect your charge controller to the battery. This Renogy set includes two tray cables, one for both the positive and negative connection. On the positive line, you’ll also want a 30 amp fuse (listed below too). This works as added protection to the entire system. Blowing a fuse is much nicer than blowing an entire electrical system!
The 8-foot cables were long enough for us, with extra wire to use in other areas. However, you’ll want to be sure to get a long enough cable for how your van is set up. It’s worth noting, that mounting your charge controller closer to your battery increases the efficiency. So, the eight-foot cable should be more than enough in length.
Renogy 10Ft 10AWG Solar Adaptor Wire Extension Cables with Female and Male Connector | grab it here

The extension cables with male and female connectors are to connect your solar panels to the charge controller. You will without a doubt in my mind need these extension cables for wiring your solar panels.
These cables connect to the super short cables on the flexible solar panels, extending the length of them to reach the charge controller. 10 feet was just barely long enough for us to connect to the charge controller, and honestly limited the placement of the charge controller for us. With that said, again, less cable is better for the efficiency of your solar panels, so I wouldn’t recommend going much longer than 10 feet for the extensions.
The “male and female connectors” seem like a confusing bit, but this is just the way you connect them both to the solar panels. Don’t let this scare you.. it’s easier to understand when you have the cables in front of you!
Renogy 1.5Ft 12AWG Solar Extension Cable with Solar Panel Connectors (lengthens cable from solar panel) | check prices here
Yes, another cable! This cable is just simply to extend the length of the solar panel cable to be able to connect to the pair branch connectors (listed below). Again.. sounds super confusing here.. but basically, the cables provided on the solar panels aren’t long enough to reach each other when joining two panels together to make one. So, you have to have this little extension to lengthen one side of the cables to then join it to the pair connector.. listed below.
We went with the 1.5 foot 12 gauge cable here.. which is a different gauge than the other 10 gauge cables we used. This was the only option for the shorter size cable that is available. To be completely honest, I don’t know if this affects the efficiency of the solar panels, but we haven’t had any problems so far, so I at least know it works!
Renogy Solar Renogy Male/Female Pair Branch Connectors | grab them here
Simply put.. these pair branch connectors take the cables from two solar panels and make a single cable to run inside your van to the charge controller.
10 Pcs 3/8″ Nylon Cord Grip NPT Cable Glands Adjustable | grab it here
Oh my goodness.. these cable glands are a gift from heaven. I don’t know why not a single other post or video we watched on installing solar panels didn’t include these little guys. We were at a stand still when laying out all the parts to put together our solar system, trying to figure out how the cables were going to insert into the van roof. Then, we came across these cable glands and all our problems were solved!
They’re freaking great and a lifesaver when fishing any wire from the outside of your van to the interior. We purchased the grey cable glands, thinking they would blend in with the roof better, but we wish we went with the black ones seeing how all the wires going into the cable glands are black.
Renogy 30A Set w/Holder ANL Fuse | get it here
Oh my gosh.. fuses are the literal death of me. I didn’t buy any fuses for our entire van electrical system, and it wasn’t until Jay had a look at the whole layout that he said we need them. I had no idea. Again, one of those things that isn’t really in many posts about van solar systems.
A 30A fuse is the size needed for going between the charge controller and batteries. This 30 amp fuse comes with a holder – a case making it super easy to install.
Renogy 20A Set w/Holder ANL Fuse | get it here
A 20 amp fuse is an easy way to protect your charge controller and solar panels. The size of the fuse between the charge controller and solar panels is a 20A (amp) fuse. Just like the 30 amp fuse between the charge controller and battery, this 20 amp fuse comes with a fuse holder.. basically an easy way to mount and protect your fuse.
Waterproof Gorilla Tape | get it here
Since our van roof is so small, our solar panels are butted nearly right up to the front of the van.. aka.. where there is loads of wind to worry about. Just the thought of wind getting up under the panels and creating a sail made us cringe. So, we came up with taping the front of the panels down with super strong and waterproof Gorilla Tape.
The Gorilla tape runs all the way across the front of both panels, and over each bolt. Covering each bolt added a bit more security and water protection for the entry point into the van roof.
10 Stainless Steel #10-24 pinhead Phillips Bolts/Screws | grab them here

Nuts and bolts are hands down the most annoying thing in the entire world! There are so many different options to choose from, and so many numbers to understand. These are the bolts we used to pair with the washers and nuts below. They were some of the only bolts that actually fit the diameter of the grommets on the flexible solar panels.
We stuck with only having 10 bolts, even though there are 12 grommets on the solar panels. This was for simplicity of un-installing the solar panels if one broke or something went wrong. We didn’t want to have to take down the entire campervan ceiling to remove the solar panels. If you don’t mind, then go ahead and buy 12 instead of ten of the bolts, washers, lock washers, and nuts.
Just for added information.. the #10 is the diameter of the bolt. The 24 is the amount of threads per inch. There’s often another number like “1 1/2 inch”, that third number is just the length of the bolt.
10 Stainless Steel Fasten #10 Washers | find them here

Just like with the bolts above, and the next two items.. the #10 is the size of washer you want. The amount (10) is because we did only five on each solar panel, for easier access to them from the inside of the van.
Make sure you get the flat washers, and stainless steel, as the stainless steel prevents rust!
Stainless Steel #10 Split Lock Washers (10 of them) | find them here
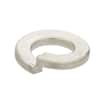
Lock washers are in place for security purposes against natural loosening and road vibrations. They may be an overkill with the nuts that are up next, but rather safe than sorry when securing solar panels to the roof… especially with the cheap price tag of the lock washers.
Again, as with above, these are stainless steel to prevent rust, and are #10 to match the diameter of the bolts being used.
10 Stainless Steel #10-24 Nylon Lock Nuts | find them here
Lock nuts are the final piece to the nuts and bolts of this flexible solar panel kit. The lock nuts not only hold everything in place like a normal nut would, but the locking aspect of them is a great security measure again theft. Lock nuts essentially lock the nut in place, making it so you cannot take off the bolt from the top. You have to actually move the nut itself to remove the bolt.
Again, going with stainless steel here for rust protection, and the #10 is to match the diameter of the bolt, while the 24 matches the thread count per inch.
Butyl Tape | find it here
Butyl Tape is a very common tape for RVs and campervans. We found ours at a local RV store for half the price Amazon was offering it (so do check there first). Anywho, Butyl tape is used for creating a water seal around anything hole on the outside of your van. We used a small piece of Butyl tape for each bolt entry, creating a water seal.
We also found Butyl tape to be one of the only things that sticks to the coroplast, or corrugated plastic. So, we used Butyl tape to also adhere the coroplast to the van roof and the solar panels.
Coroplast | check current prices here

Corrugated Plastic (coroplast) was used in our campervan solar system to prevent overheating of the solar panels. In many of the reviews on flexible solar panels, we found the panels overheating to be the main problem most people had with the flexible panels. To prevent overheating, we cut coroplast to the exact size of each solar panel. This creates a gap under the panels to breathe. In theory, this will reduce the potential of the solar panels overheating. It’s held up well so far!
Zip Ties and Cable Mounts | grab them here
Another thing that we saw nowhere on any van build blog, and I (Heather) didn’t think of until Jay began questioning our solar layout.. zip ties and cable mounts. These go on the roof to secure your solar panel wiring down so it doesn’t flap in the wind. Regardless of where you install your cable glands for the entry point into the roof, you’ll need to secure/mount your extension cables, pair connectors, and extra wiring to the roof with these.
They are super easy to use and are perfect for laying your cables exactly where you want them.
Copper Wire Connectors | current price

You will use these copper wire connectors on multiple parts of your van build to connect different wires to the battery from your dual battery isolator, your inverter, and even your fuse box. To use the shrink wrap, you’ll need this heat shrink tool, and you’ll need a wire crimper to crimp the copper.
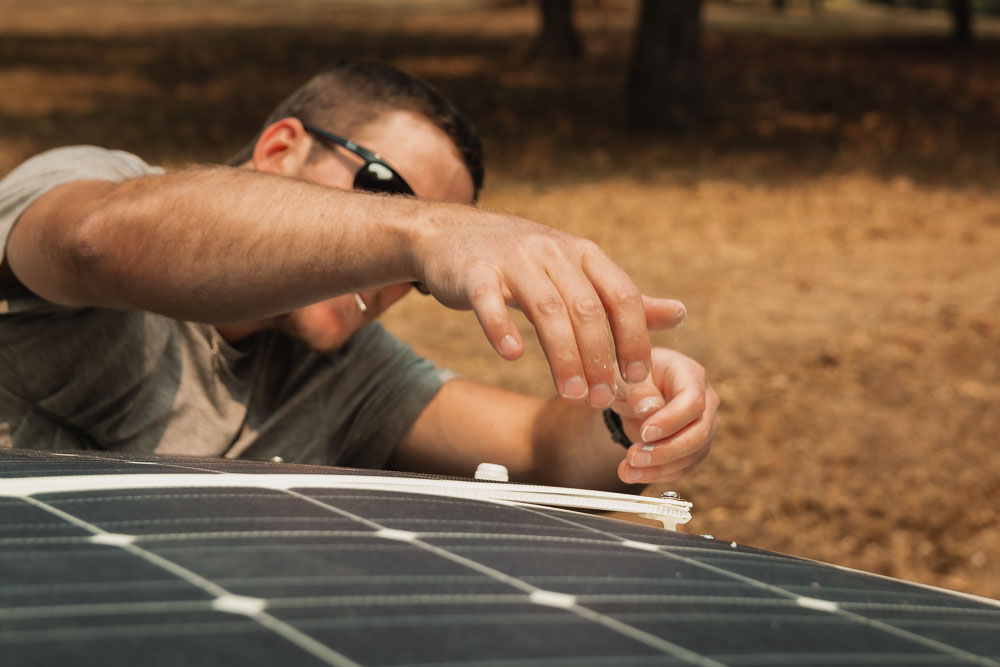
Flexible Solar Panels For Campervans in Photos


More Details on Van Solar Panels
Choosing the Best Solar Panels for Your Campervan
How to Mount Flexible Solar Panels to a Van Roof
Complete Flexible Solar Panel Material List
How to Connect Two Solar Panels to One Battery
Choosing the Best Batteries for Your Campervan Build
Solar Panel Installation Mistakes | things to avoid when installing your solar panels
More Details on Van Builds
Choosing the Best Stove for Your Van Build
9 Reasons You Need a Van Roof Fan
Save and Share This Post With Others
Did you like this post on flexible solar panels for campervans It truly helps us tremendously when you save and share our posts with others! It’s a great way to show this post was helpful and we should write more like it in the future. Use these pictures to pin this post on Pinterest! Want to support us in a different way? Find out how here.